7. RoR and S3 – Easy way to setup active storage
If you haven’t created a RoR project yet, you may find this post useful to get started.
Part of the project associations, most data can just be kept in the database. In the case of the reference project, you may have data like description, title, locations etc stored in main model or through associations.
Content such as images and videos are not as good to be kept in database for several reasons; let’s use a less obvious one such as network load on your server. If you store your files in S3, you can just provide a link in the front-end to download and use that file from the browser, rather than loading it to your server and passing it back. This would greatly reduce the payload to your server and don’t forget that the price for S3 is very competitive currently.
Rails has great support for this through Active Storage. Let’s go through the setup;
rails active_storage:install
rails db:migrate # Check that you don’t need to modify the migration like below, depending if you use UUID for ID columns
This created some migrations for us, which manage the associations.
Make sure to read the notes from the Rails guide:
active_storage_attachments is a polymorphic join table that stores your model’s class name. If your model’s class name changes, you will need to run a migration on this table to update the underlying record_type to your model’s new class name.
—
If you are using UUIDs instead of integers as the primary key on your models you will need to change the column type of record_id for the active_storage_attachments table in the generated migration accordingly.
In this reference project, I am using UUID’s and therefore this is quite important. It doesn’t show ‘what’ to write, but it’s simple; change the id’s of the tables by adding it like so;
id: :uuidThis needs to be added to the create_table and references part, in the end it should look something like this:
def change
create_table :active_storage_blobs, id: :uuid do |t|
t.string :key, null: false
t.string :filename, null: false
t.string :content_type
t.text :metadata
t.bigint :byte_size, null: false
t.string :checksum, null: false
t.datetime :created_at, null: false

t.index [:key], unique: true
end

create_table :active_storage_attachments do |t|
t.string :name, null: false
t.references :record, null: false, polymorphic: true, index: false, type: :uuid
t.references :blob, null: false, type: :uuid

t.datetime :created_at, null: false

t.index %i[record_type record_id name blob_id], name: ‘index_active_storage_attachments_uniqueness’, unique: true
t.foreign_key :active_storage_blobs, column: :blob_id
end
end
Now that we’ve created the links, we should configure the active storage store location.
You should have this in config/environments/development.rb and config/environments/production.rb
 # Store uploaded files on the local file system (see config/storage.yml for options).
config.active_storage.service = :local
This is good; and if you want to use Amazon S3 in production, you will want to modify config/environments/production.rb like so:
# Store files on Amazon S3.
config.active_storage.service = :amazon
With this configured, it’s time to configure the AWS S3, this is also very straightforward with Rails, navigate to config/storage.yml, you should have this by default:
test:
service: Disk
root: <%= Rails.root.join(“tmp/storage”) %>

local:
service: Disk
root: <%= Rails.root.join(“storage”) %>

# Use rails credentials:edit to set the AWS secrets (as aws:access_key_id|secret_access_key)
# amazon:
# service: S3
# access_key_id: <%= Rails.application.credentials.dig(:aws, :access_key_id) %>
# secret_access_key: <%= Rails.application.credentials.dig(:aws, :secret_access_key) %>
# region: us-east-1
# bucket: your_own_bucket
You should uncomment the amazon section, let’s add the gemfile before we go to Amazon to obtain the credentials.
For now, add this gem to the Gemfile:
gem “aws-sdk-s3”and run bundle install
With this, the installation of AWS S3 in Rails is pretty much complete, and requires several more configuration steps.
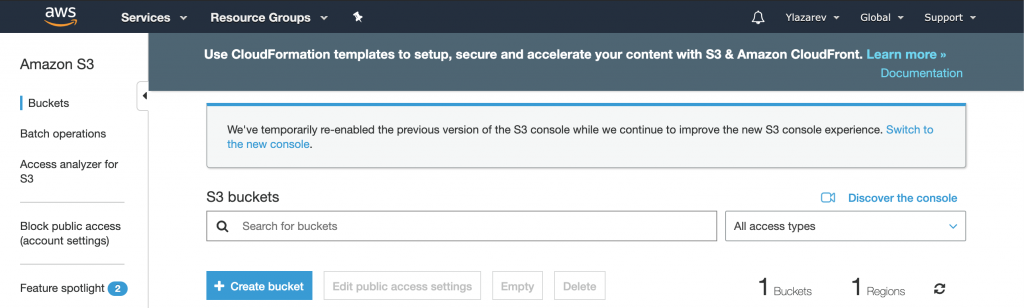
We can now navigate to https://s3.console.aws.amazon.com/s3/
From this page, you can create a new bucket for this use:
Let’s go through the steps together, step1:
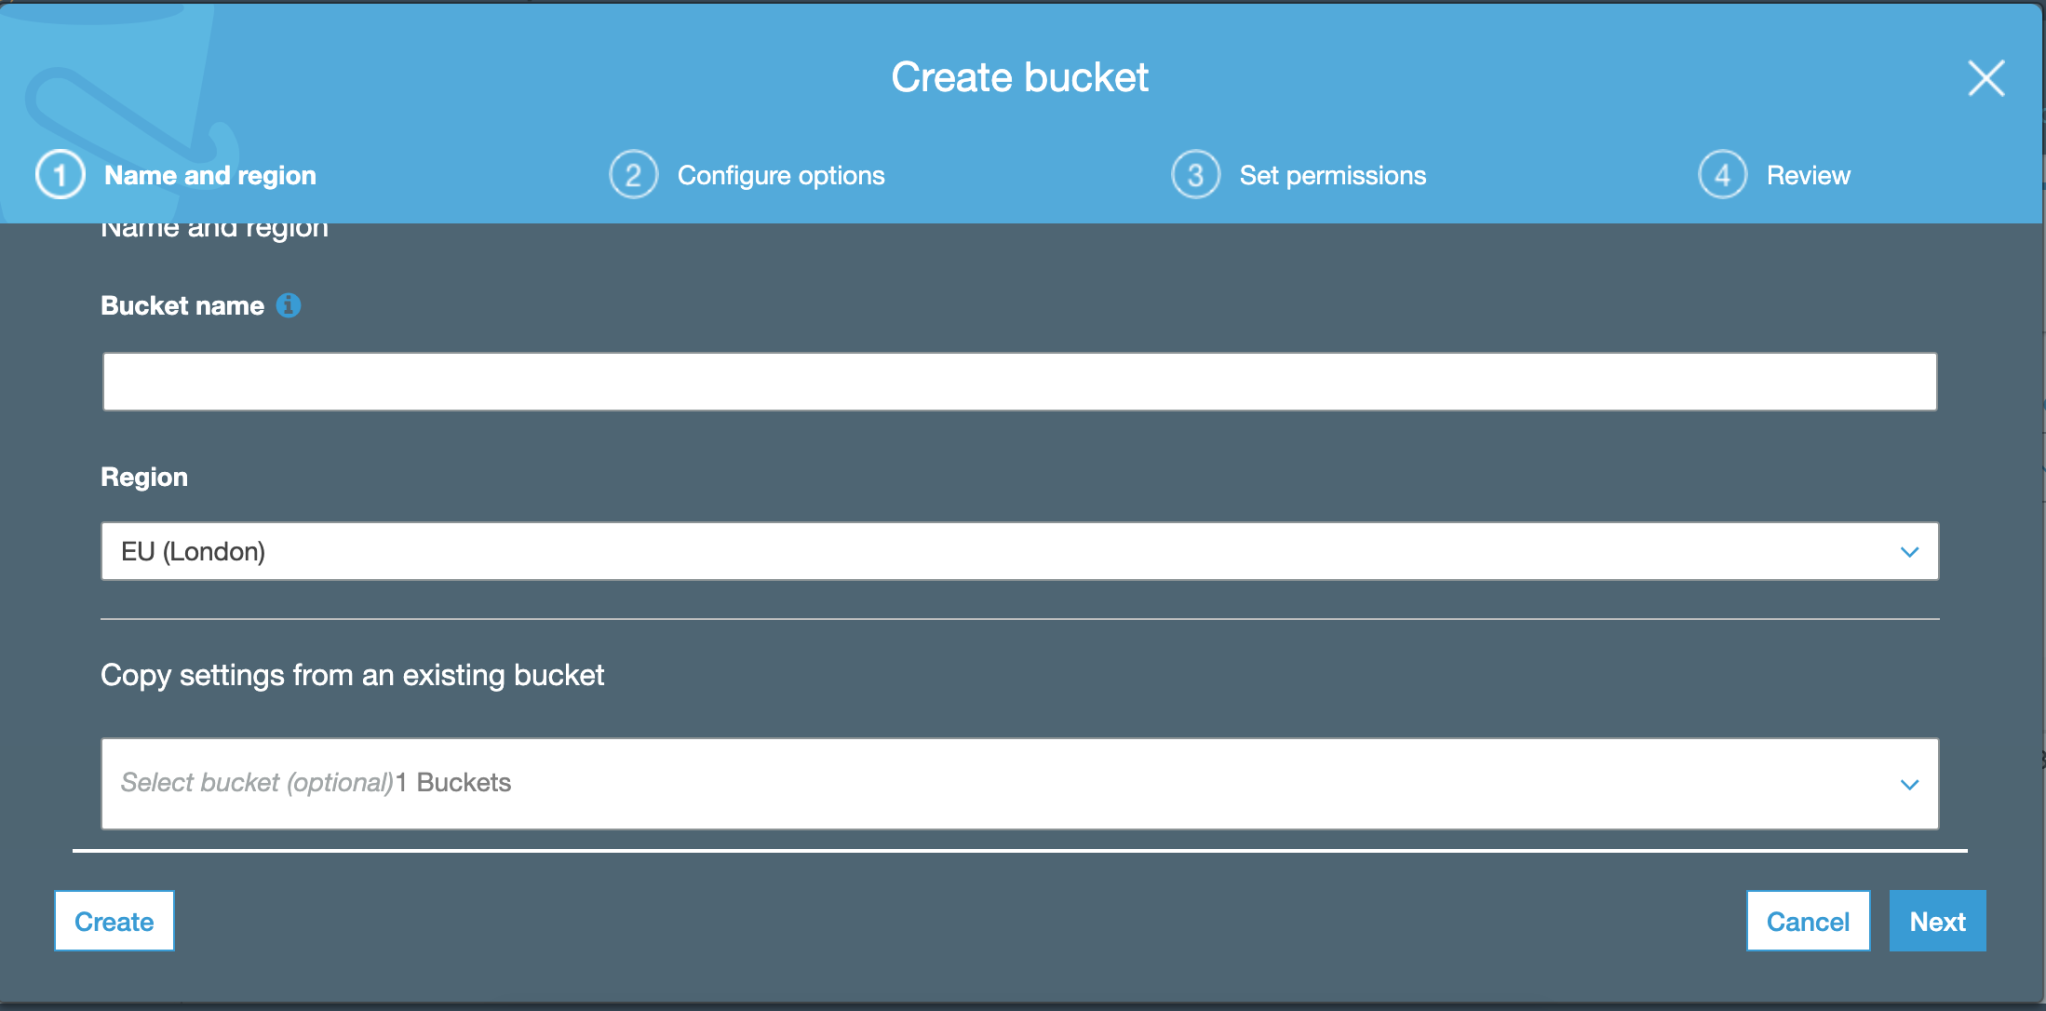
Give a name to your bucket and select a nearby region.
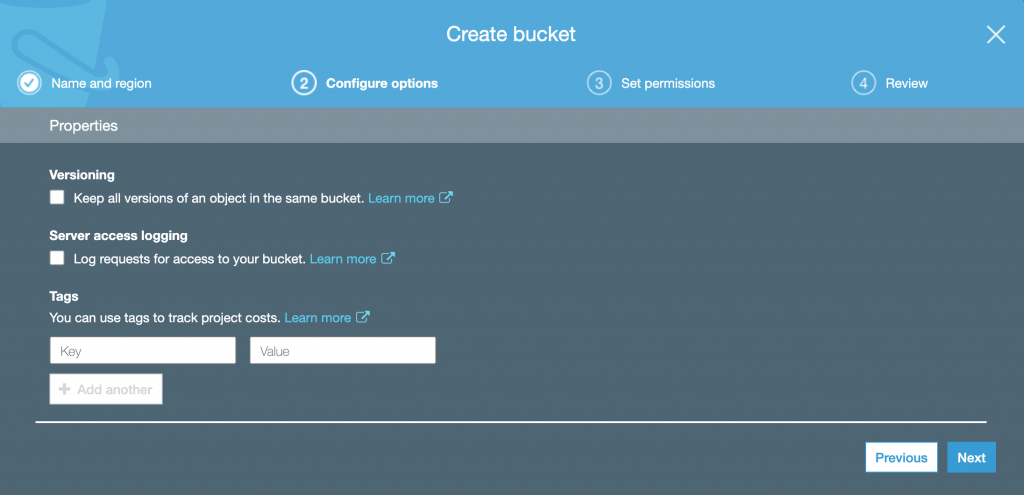
For a basic setup, you don’t need to configure any additional options, you can leave the defaults and proceed to step 3. Having said that, you may want to enable automatic encryption, but I would recommend getting basic setup working first, then potentially making another bucket to replace the test one.

Step 3 – permissions

Step 3 is important but straightforward. I would suggest you keep the default of blocking all public access to the bucket. Consider this, would you keep your database open to public? Keeping the default is appropriate for most cases.
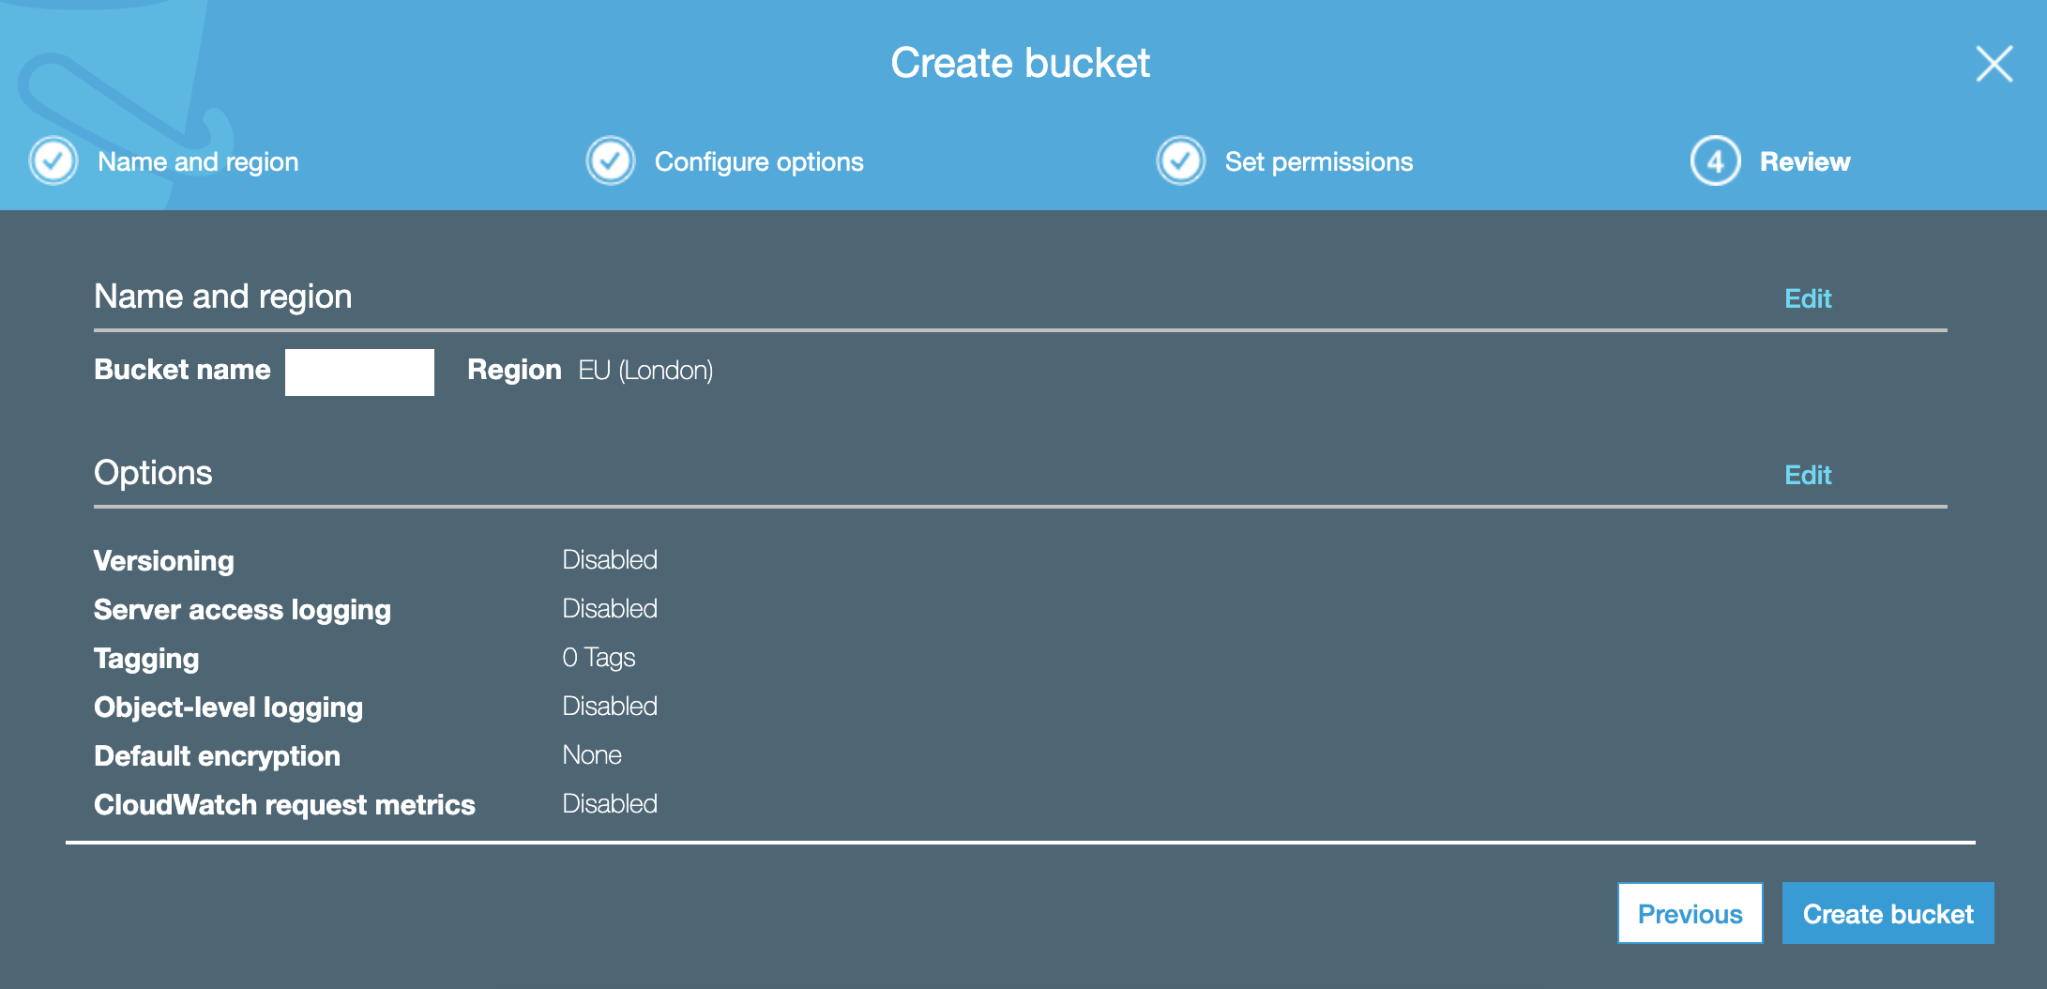
Finally review and create your new bucket
After you’ve clicked create bucket, it will be in the list of available buckets. But you will also want to configure the user/groups to access this bucket.
Navigate to https://console.aws.amazon.com/iam/home#/groups on a new tab and let’s do that.
If you’ve followed the other posts, we’ve already created a group for Comprehend access:

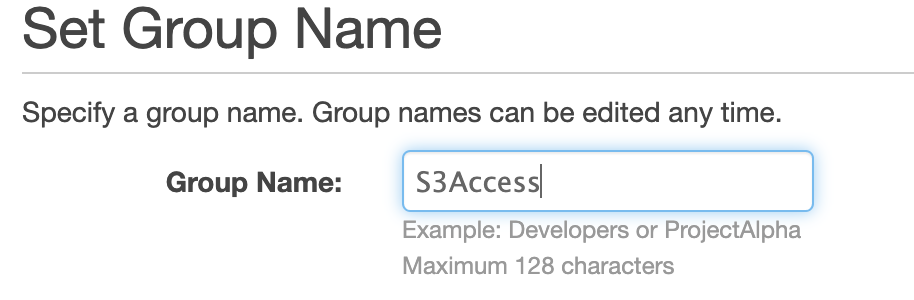
We will create a new group for S3 access.
For the next step, you will want to link a policy to this group:
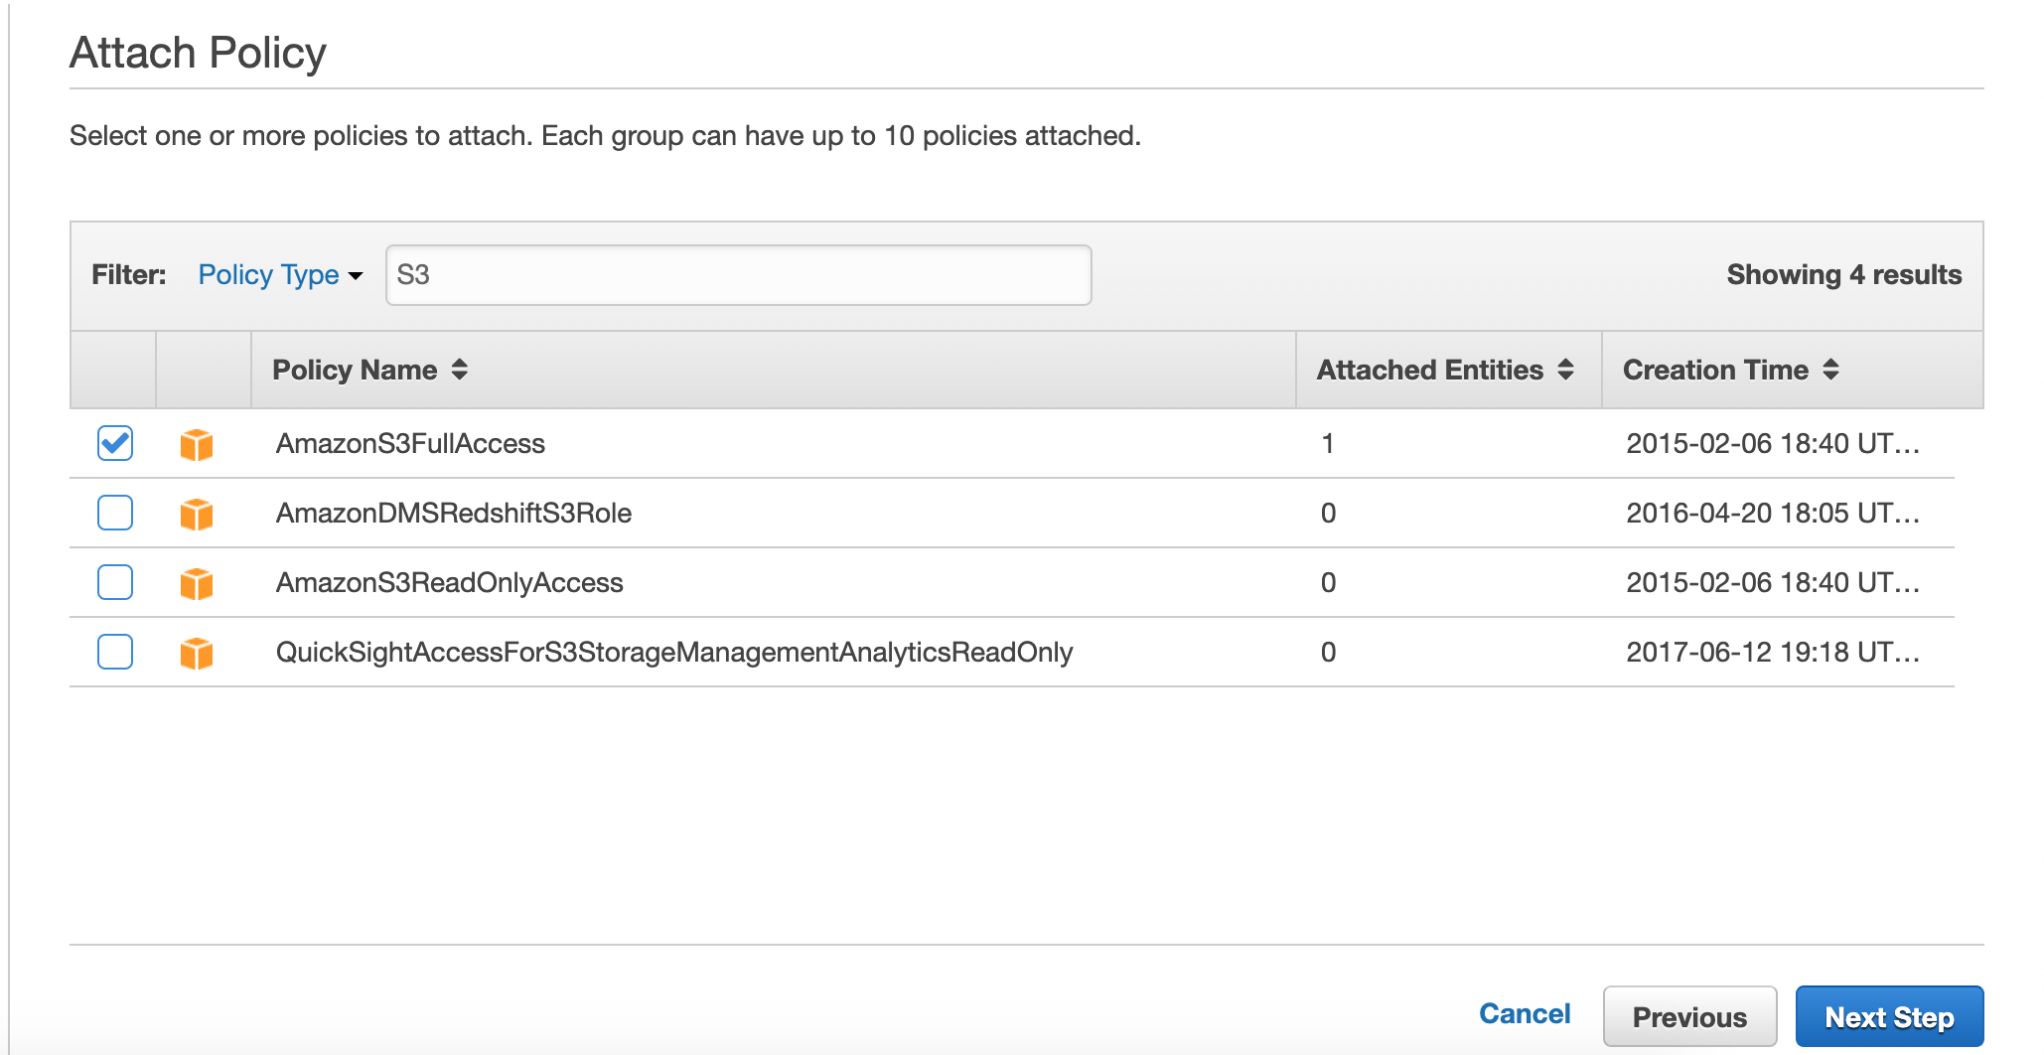
In my case, I will give this S3 Full access, as the application will require to both read and write; its also simpler to setup.
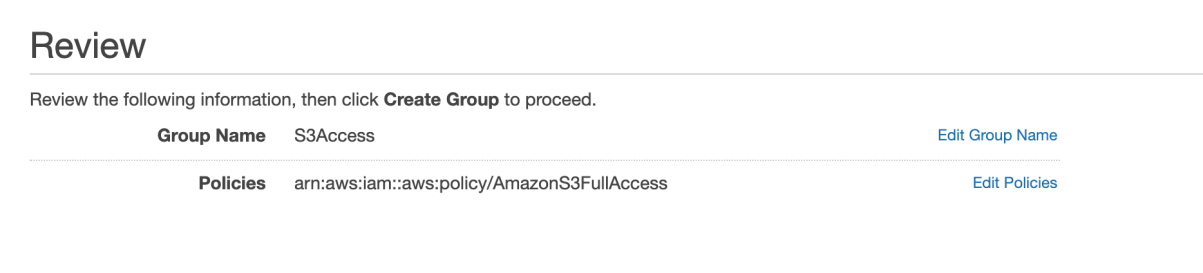
Next just review and create the new group:
Go back to the users page https://console.aws.amazon.com/iam/home#/users
Then click on your existing user (or create a new one) and go to the ‘Groups’ tab
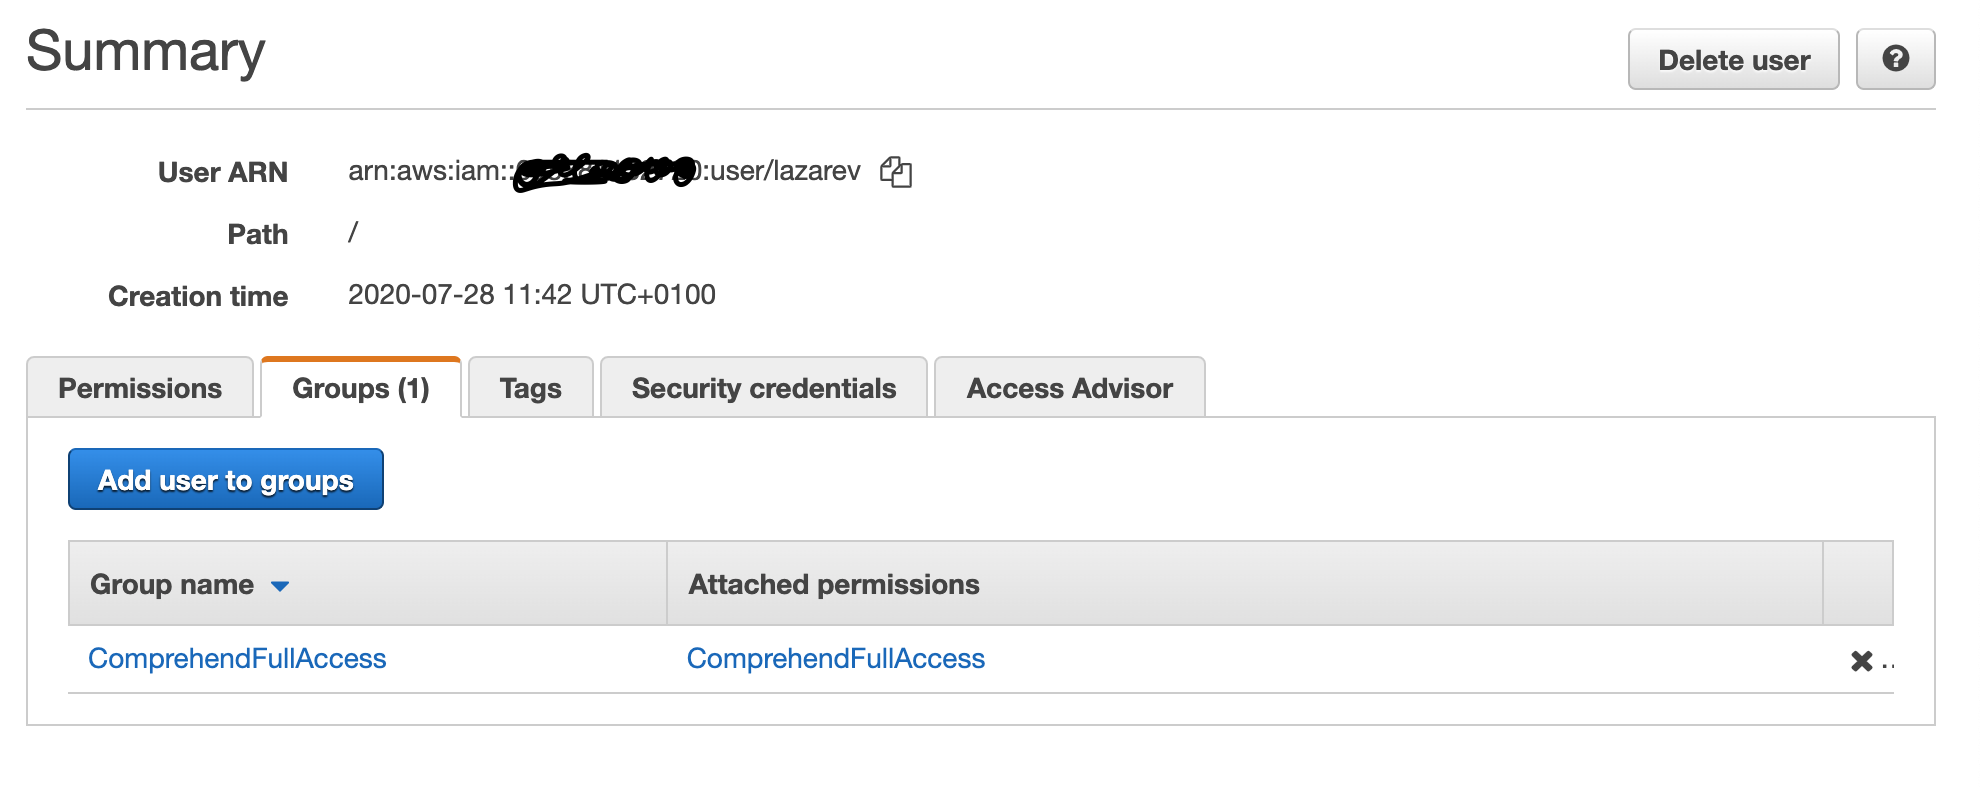
Simply add the user to the newly created group.
It should then look something like this:

Now if you already followed the AWS Comprehend post in part 5 then your user will already be linked.
If not, you will need to configure to link your AWS user with Rails application, as outlined here: https://github.com/aws/aws-sdk-ruby
It’s quite simple and there’s multiple ways of doing it, I suggest to get started you can simply export them as environment variables to here: ENV[‘AWS_ACCESS_KEY_ID’] and ENV[‘AWS_SECRET_ACCESS_KEY’]
Alternatively follow the AWS comprehend post and use S3 to configure them with aws configure which will create a config file to store them (if you have AWS cli installed).
This should complete the configuration of S3 with Rails.
Now you just need to setup the associations on your model, add
has_one_attached :logoto your model, and that’s actually sufficient!
Edit the config/storage.yml properties:
amazon:
service: S3
region: eu-west-2
bucket: <your_bucket_name>
Temporarily edit config/environments/development.rb to have active storage use AWS:
config.active_storage.service = :amazonAnd now we can give it a whirl
First, copy some image into <rails_root>/tmp/logo.png just for test purposes.
rails console

2.7.1 :004 > job_post = Post.first #Seed some data, or create an item to test with - use the model you’ve added has_one_attached :logo

job_post.logo.attach(io: File.open(‘tmp/logo.png’), filename: ‘logo.png’)
2.7.1 :004 > job_post.logo.attach(io: File.open(‘tmp/logo.png’), filename: ‘logo.png’)

# this will produce a bunch of outputs which show it uploading
# we can verify it’s done everything correctly with:

2.7.1 :016 > include Rails.application.routes.url_helpers
2.7.1 :017 > rails_blob_path(job_post.logo, disposition: “attachment”, only_path: true)
And that’s it! You now have a working implementation of AWS S3 with Rails.
Don’t forget to edit config/environments/development.rb and put it back to
config.active_storage.service = :localYou will also want to make some controllers which handle attaching files and providing urls to front-end. There’s multiple ways of doing that, choose what’s best for you.