RoR and AWS – Simple way to use Comprehend example
If you’re following the blog, we now have Rails setup with some basic front end components. What we may want to start doing is processing some items in the back-end to produce some useful content.
In this post we will explore the use of AWS Comprehend
Quick summary:
Amazon Comprehend is a natural language processing (NLP) service that uses machine learning to find insights and relationships in text. No machine learning experience required.
Let’s get right into it, we will follow the guide from here
And use Rails AWS gem documentation from here
First, register and login to AWS management console
Next, we will want to grab some keys to integrate with the SDKs. Note, this step will use administrator keys which is not advised, but its faster to get started.
There are two methods of connecting to AWS with your application
- Admin keys
- User/Groups + Roles
We will cover both ways
IAM Groups
Getting access using IAM User/Groups (slightly longer, but more secure)
For better security, you will want to create IAM users/groups/roles which will provide access to your application, you can configure that here.
Create add new user from the users page:
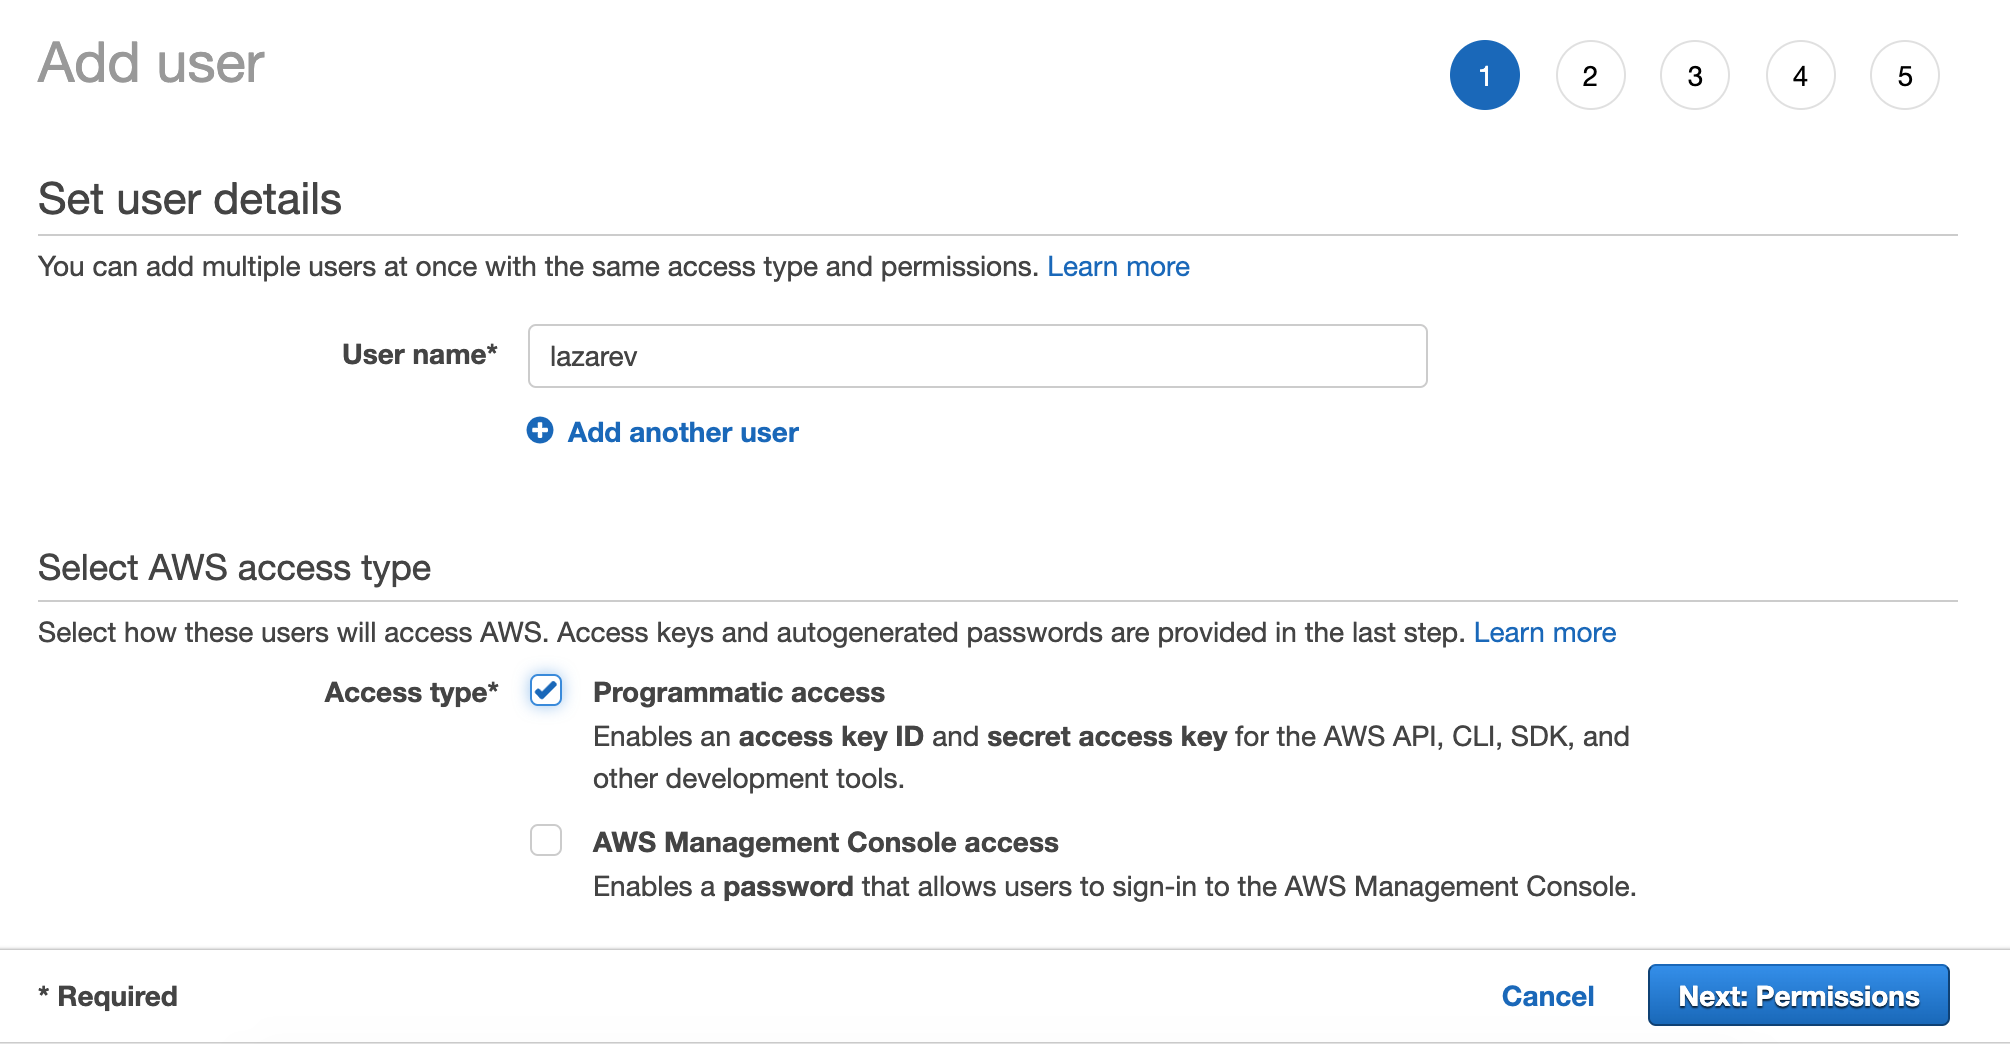
Set up for ‘programmatic access’ as that’s what you’ll need.
Then, you will need to setup the user permissions:
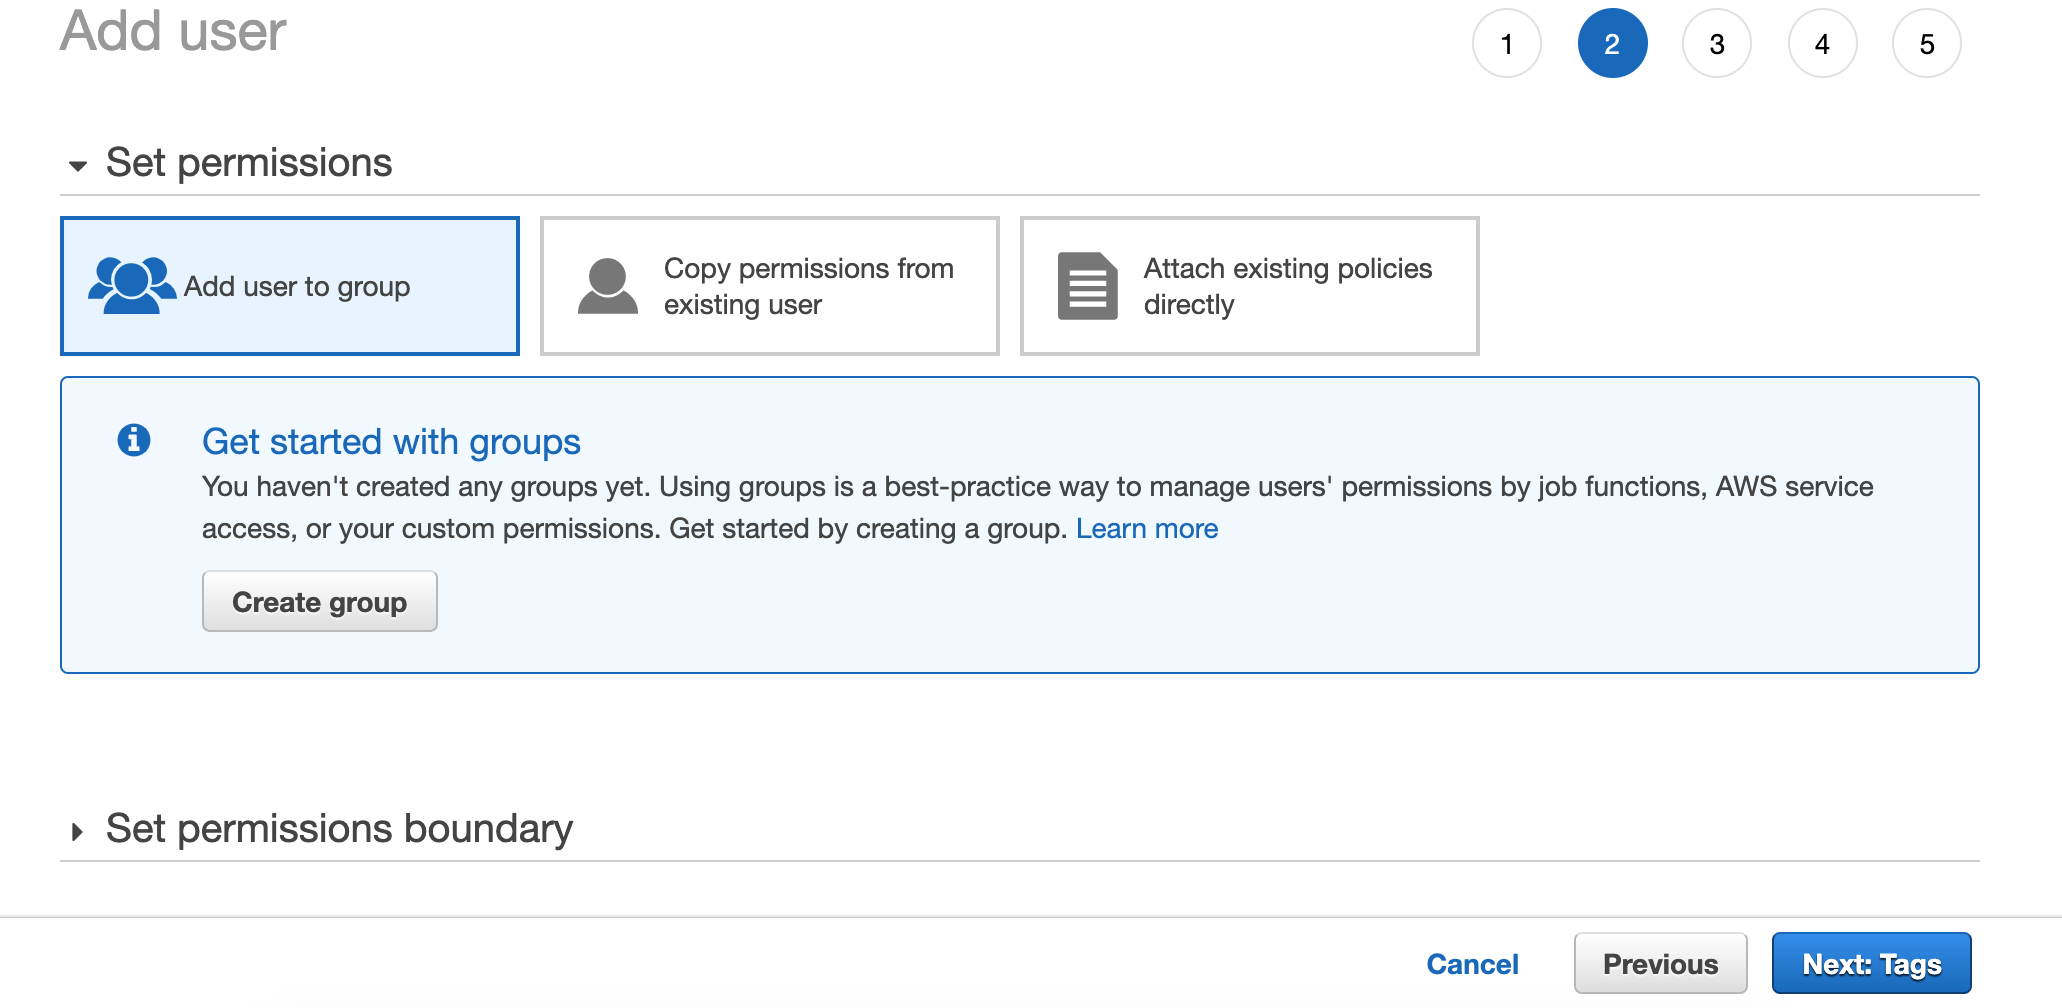
You may want to create a new group for this section.
Click ‘Create group’ and search for ‘comprehend’
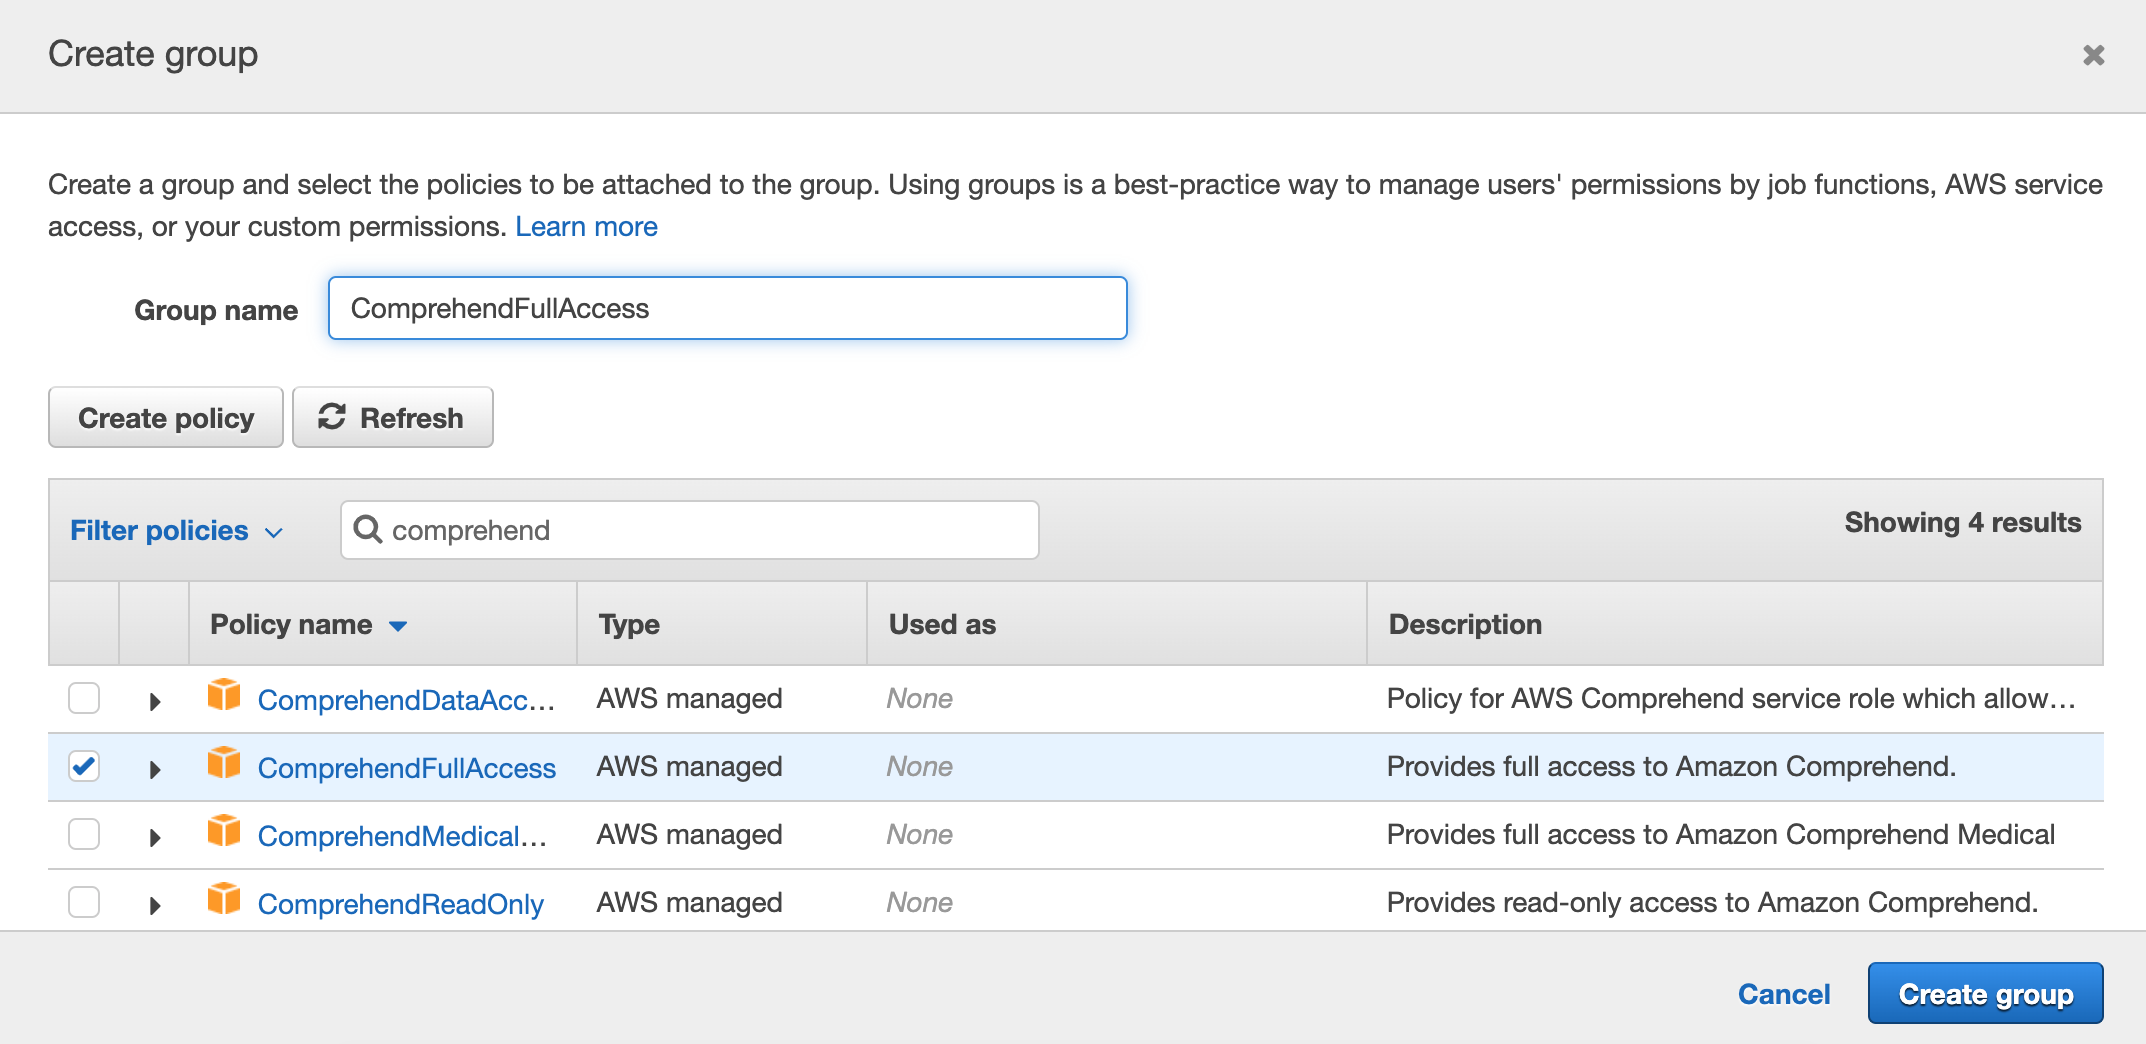
Once you’ve found the permissions you want linked, select it and give the group name a good name.
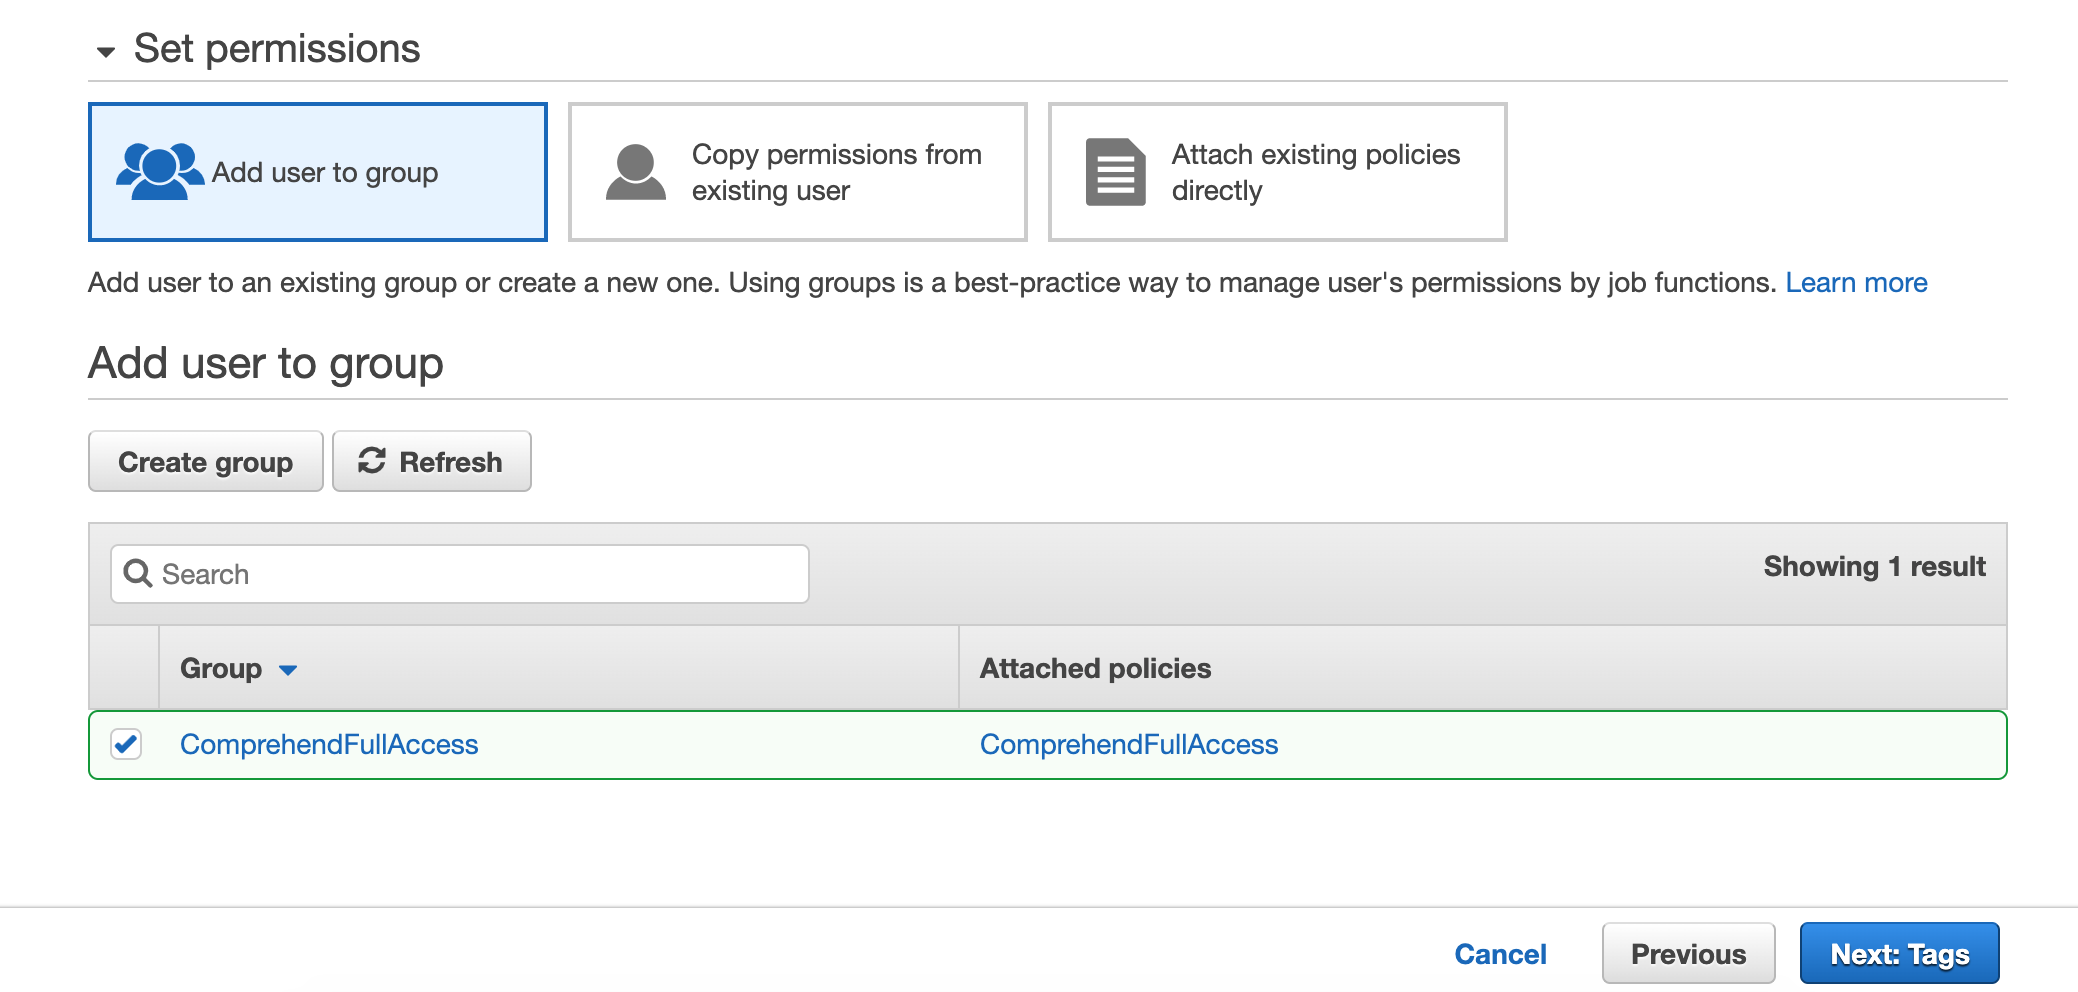
With this group, you can continue:
Next section is tags, which we will not need for the purpose of our setup and can skip.
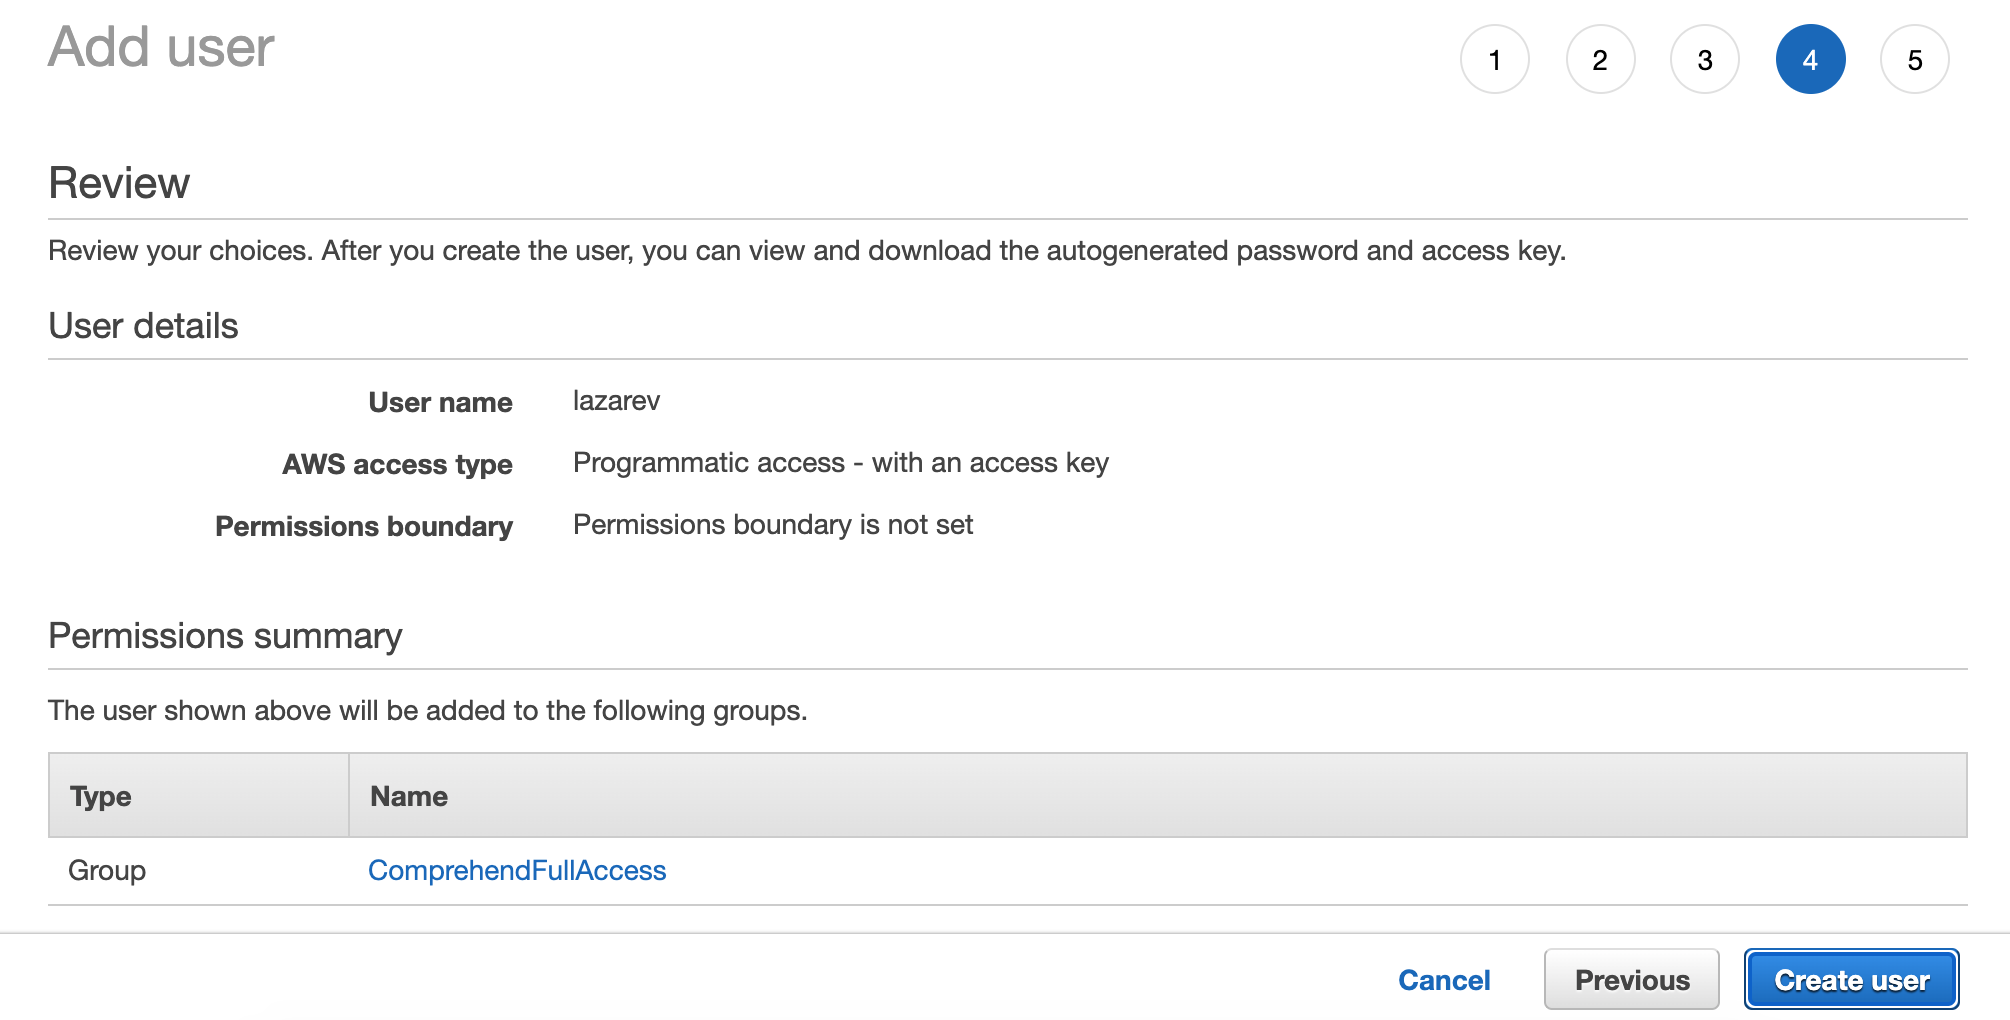
Finally is the review – ensure everything looks good and click ‘Create user’
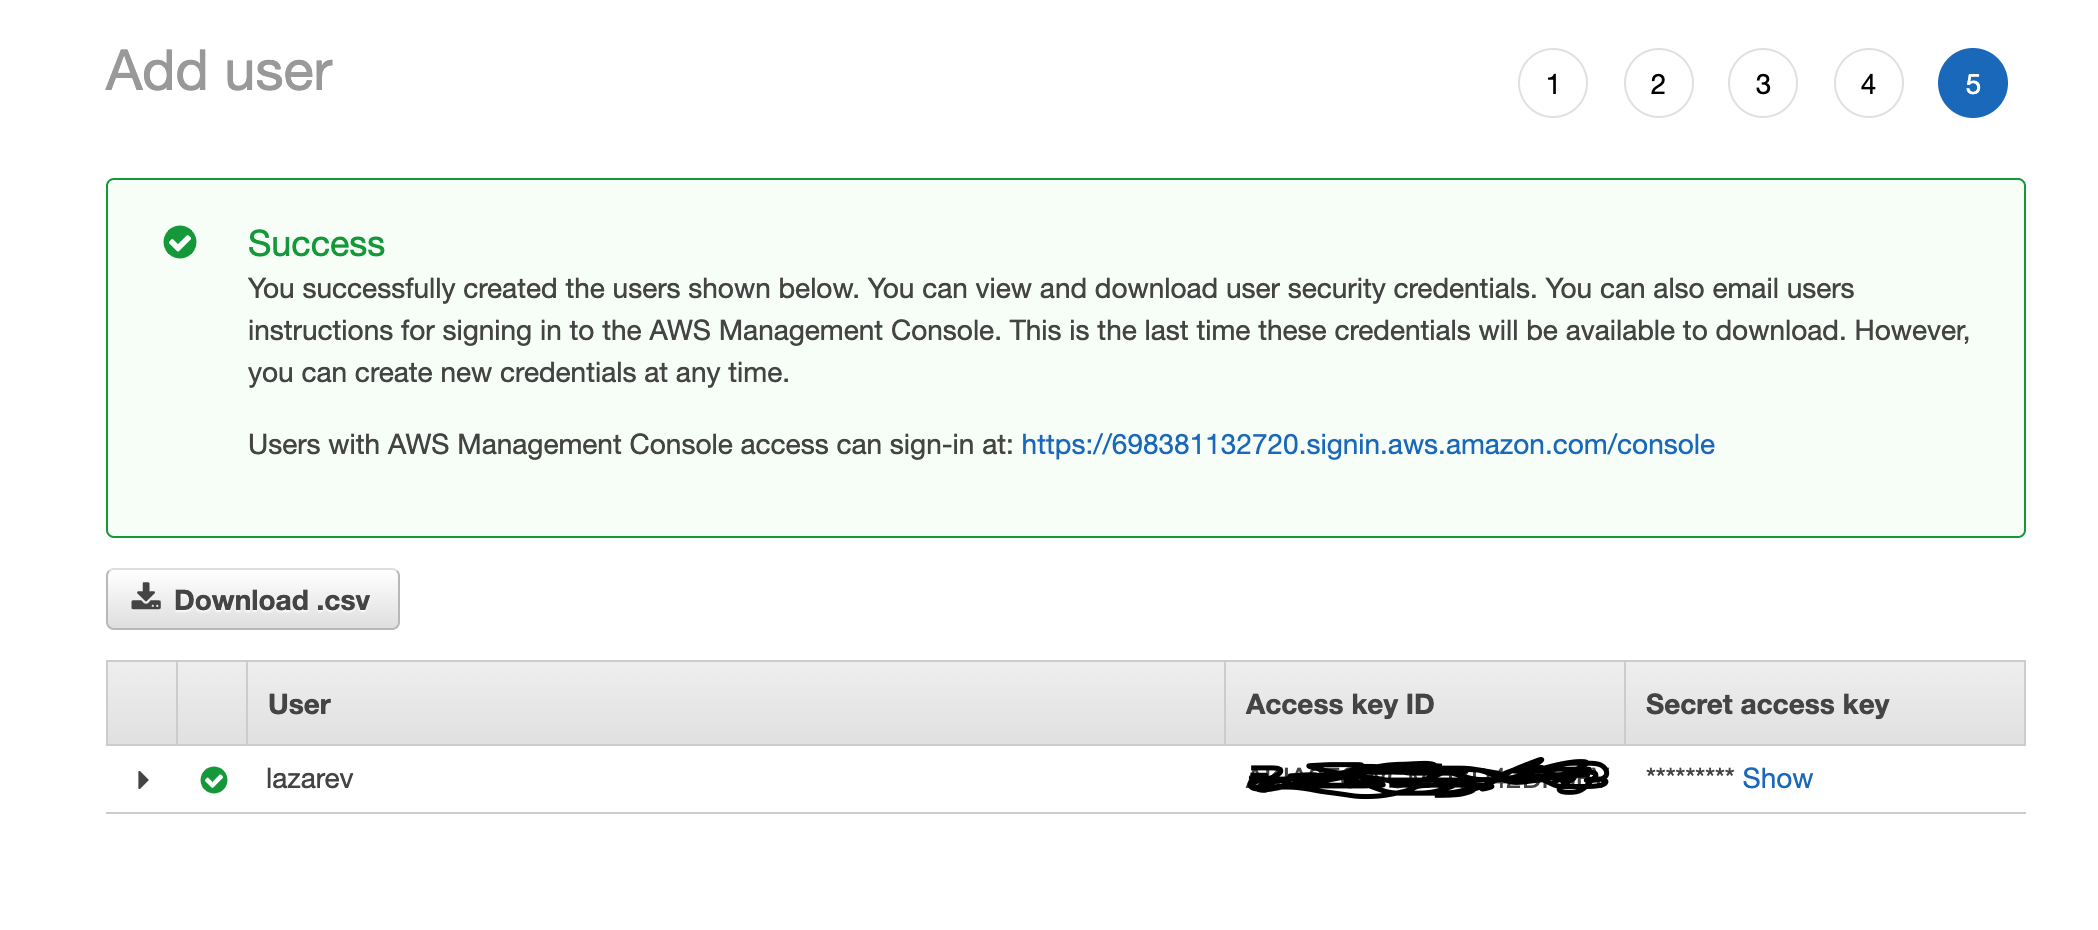
You will not get your user keys that you should download and keep safe:
You will configure these keys using the AWS CLI that is covered below.
How to get Admin root keys (shorter but less secure method)
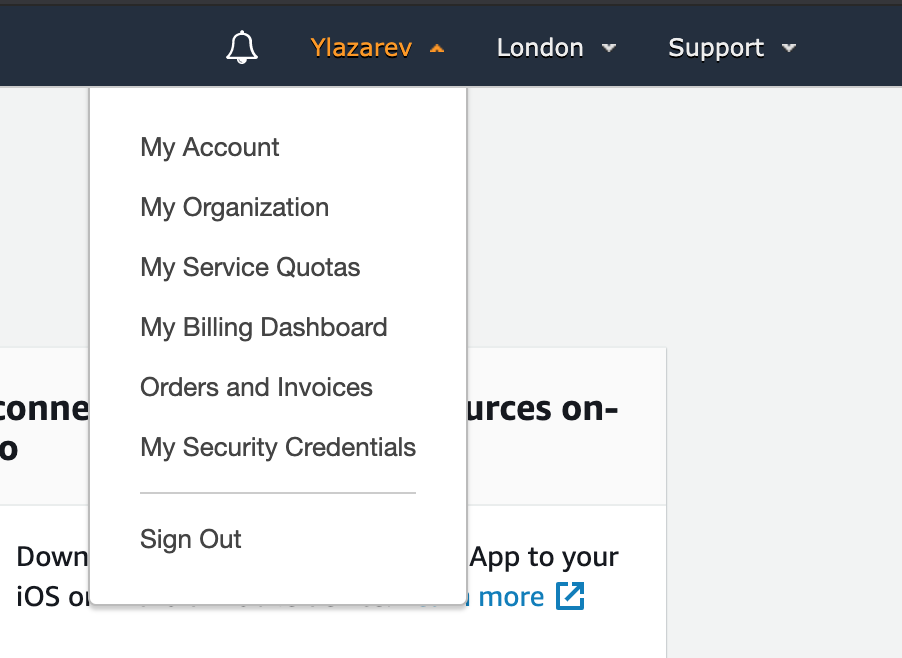
When you’re logged into AWS, click on your username and ‘My security credentials’
 | 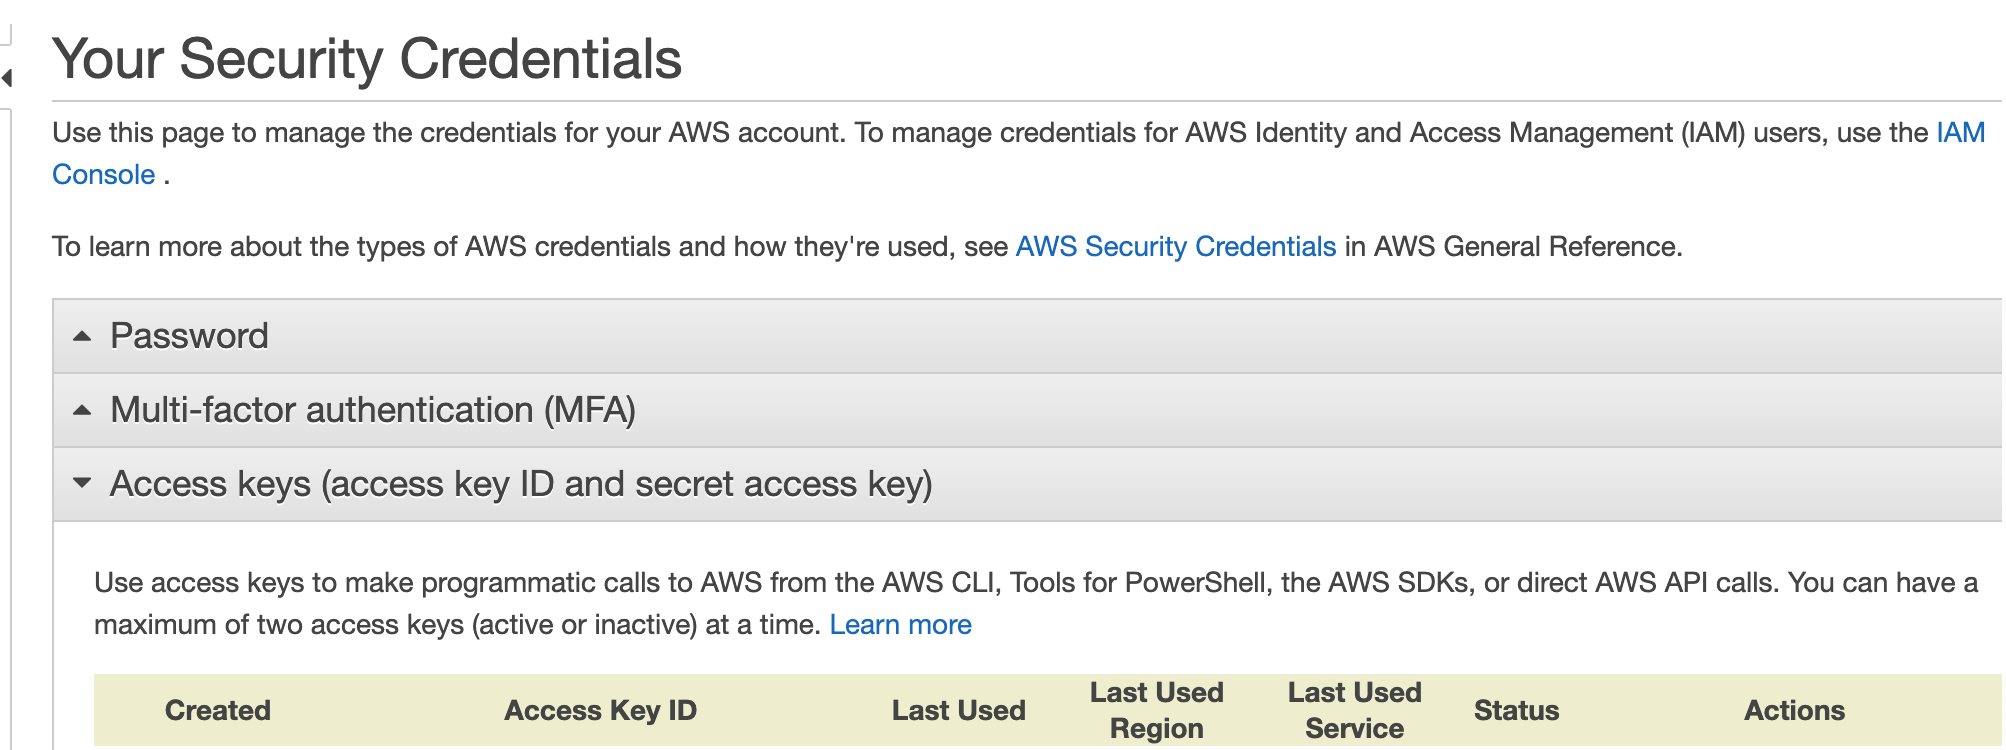 |
From the ‘Security credentials’ page, expand the ‘Access keys’ section.
Here you will either need to copy the access key ID or generate a new key:
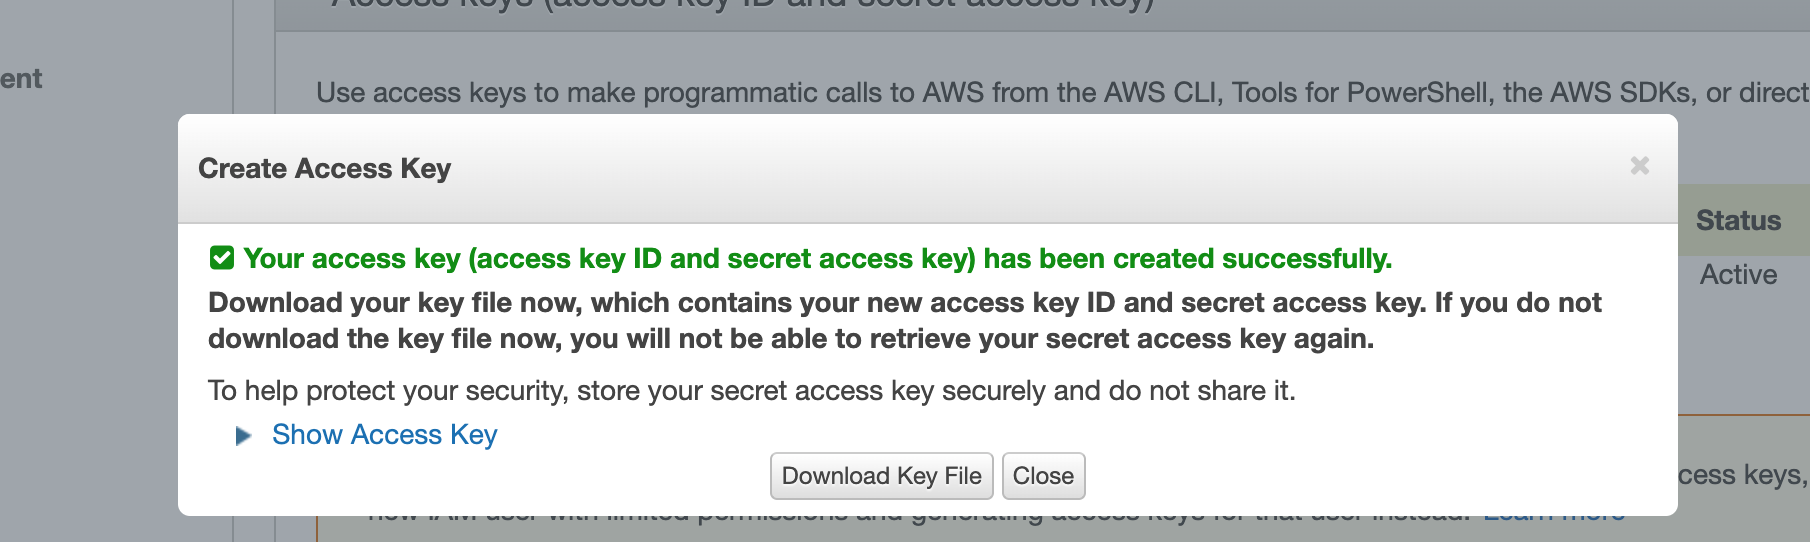
Make sure you save the access key secret as it will not be available for viewing later.
Configure AWS CLI
Jumping straight to step 2, as I am using Mac OS, I will be downloading the AWS CLI from here
Section: Install and update the AWS CLI version 2 using the macOS command line
We just need to execute these 2 commands:
curl “https://awscli.amazonaws.com/AWSCLIV2.pkg” -o “AWSCLIV2.pkg”
sudo installer -pkg AWSCLIV2.pkg -target /
This is what the output should look like:
admin@Admins-MacBook-Pro railscruiter2 (integration-branch) $ curl “https://awscli.amazonaws.com/AWSCLIV2.pkg” -o “AWSCLIV2.pkg”
% Total % Received sudo installer -pkg AWSCLIV2.pkg -target /% Xferd Average Speed Time Time Time Current
Dload Upload Total Spent Left Speed
100 20.8M 100 20.8M 0 0 4350k 0 0:00:04 0:00:04 —:—:— 5473k
admin@Admins-MacBook-Pro railscruiter2 (integration-branch) $ sudo installer -pkg AWSCLIV2.pkg -target /
Password:
installer: Package name is AWS Command Line Interface
installer: Installing at base path /
installer: The install was successful.

admin@Admins-MacBook-Pro railscruiter2 (integration-branch) $ which aws
/usr/local/bin/aws
admin@Admins-MacBook-Pro railscruiter2 (integration-branch) $ aws —version
aws-cli/2.0.34 Python/3.7.4 Darwin/18.7.0 botocore/2.0.0dev38
Configure user with AWS CLI
If you’ve setup the user using IAM roles, you will need a credentials file, which can be easily setup using the CLI.
Simply type aws configure and set the values similar to:
aws configure
AWS Access Key ID [None]: <user_access_key>
AWS Secret Access Key [None]: <user_secret_key>
Default region name [None]: <region>
Default output format [None]: <output_format>
for region I placed eu-west-2 as that’s London and default output format I’ve left blank.
This should create a file for you ~/.aws/credentials and you can check it:
less ~/.aws/credentials
Next is just to familiarise yourself with the comprehend console.
https://docs.aws.amazon.com/comprehend/latest/dg/get-started-console.html
Just play around with it, feed it some lines and ensure you’re getting the results that you want. If ready to proceed, let’s look at how to integrate it with Rails.
The AWS ruby sdk gem can be found here and we will be using the AWS comprehend gem, which is found here.
Step 1
add the gem to Gemfile and run bundle install
gem ‘aws-sdk-comprehend’, ’~> 1’
Cross reference the configuration section of github.
You will need to setup the two keys:
ENV[‘AWS_ACCESS_KEY_ID’] and ENV[‘AWS_SECRET_ACCESS_KEY’]
you can do this simply with:
export AWS_ACCESS_KEY_ID=<acess_key_from_security_credentials>
export AWS_SECRET_ACCESS_KEY=<secret_acess_key_from_security_credentials>
You can directly use the root access keys here for example.
If you want to check whether the environment variables are set on your machine, type:
env | grep AWS_ACCESS_KEY_ID
env | grep AWS_SECRET_ACCESS_KEY
If the commands return some value, then it’s present otherwise it’s not there.
Note the comment:
Unless ENV[‘AWS_SDK_CONFIG_OPT_OUT’] is set, the shared configuration files (~/.aws/credentials and ~/.aws/config) will be checked for a role_arn and source_profile, which if present will be used to attempt to assume a role.
Once you’ve configured these settings, we can start looking to use the API, there’s some useful documentation here.
Let’s make an empty file here first:
app/models/machine_learning/aws_comprehend.rb
Change the name to your liking. Then, put in the following content:
# frozen_string_literal: true

module MachineLearning
class AwsComprehend
attr_reader :client
CONTENT_LENGTH_LIMIT = 5000

def initialize
@client = Aws::Comprehend::Client.new(region: ‘eu-west-1’)
end

def extract(content, language_iso_code)
client.detect_entities(
text: content.mb_chars.limit(CONTENT_LENGTH_LIMIT).to_s,
language_code: language_iso_code
).entities
end
end
end
Make the module and filename consistent with the path that you’ve created.
The initialize function just starts up the AWS client gem, which will load the credentials file or your environment variables by itself. Then we have the extract method, which will call the AWS comprehend ‘entities’ function. From the documentation, the max character length is 5,000 characters, so we apply this limit here.
Now, in the model of you choice, add these methods:
def entity_extractor_client
@entity_extractor_client ||= MachineLearning::AwsComprehend.new
end

def get_entities
entity_extractor_client.extract(relevant_description, language_iso)
end
Provide the ‘relevant_description’ and ‘language_iso’ as you need. As an example, I took a description from a random job post, and the language_iso is set to en.
(byebug) post.get_entities
[#<struct Aws::Comprehend::Types::Entity score=0.9932997226715088, type=“ORGANIZATION”, text=“bristol london”, begin_offset=16, end_offset=30>, #<struct Aws::Comprehend::Types::Entity score=0.9641454219818115, type=“ORGANIZATION”, text=“manchesterour”, begin_offset=31, end_offset=44>, #<struct Aws::Comprehend::Types::Entity score=0.8834774494171143, type=“TITLE”, text=“linux”, begin_offset=926, end_offset=931>, #<struct Aws::Comprehend::Types::Entity score=0.4270842671394348, type=“TITLE”, text=“ruby”, begin_offset=1011, end_offset=1015>, #<struct Aws::Comprehend::Types::Entity score=0.325829416513443, type=“TITLE”, text=“java”, begin_offset=1016, end_offset=1020>, #<struct Aws::Comprehend::Types::Entity score=0.456962525844574, type=“TITLE”, text=“python”, begin_offset=1021, end_offset=1027>, #<struct Aws::Comprehend::Types::Entity score=0.6316119432449341, type=“TITLE”, text=“javascript”, begin_offset=1028, end_offset=1038>, #<struct Aws::Comprehend::Types::Entity score=0.5864372849464417, type=“TITLE”, text=“goare”, begin_offset=1039, end_offset=1044>]
(byebug) post.language_iso
“en”
Voila. It’s working.
To be fair, the accuracy is not that fantastic for this particular example, however it works. You will want to fine tune these sorts of settings with the comprehend library. There are many ways of doing so and will not be in the scope of this post.