9. Simple way to link your domain + webapp
From previous post, we’ve looked at deploying our application with Heroku. This is now live at its own location (https://yazii.herokuapp.com/search-for-tech-jobs). What we’d like to do is make it available in a user friendly or own personal domain.
To do this you need to purchase your domain, many places are available for that but I will use GoDaddy as an example as I’ve used it in the past.
When setting up, you should add the domain with Heroku CLI. So navigate to your app with terminal, and execute the following:
heroku domains:add <your_domain_name>

e.g.
heroku domains:add *.yazii.co.uk
You should try and ensure to include ‘*’ in front of your domain name here. This acts as a wildcard – if you don’t want to use it, you can put www.your_domain_name.com as usual. There are good and bad reasons for using it.
Now you would need to grab the DNS target, do this with:
heroku domainsIt will list the added domain and DNS Target
Once this is done, let’s look at GoDaddy configurations.
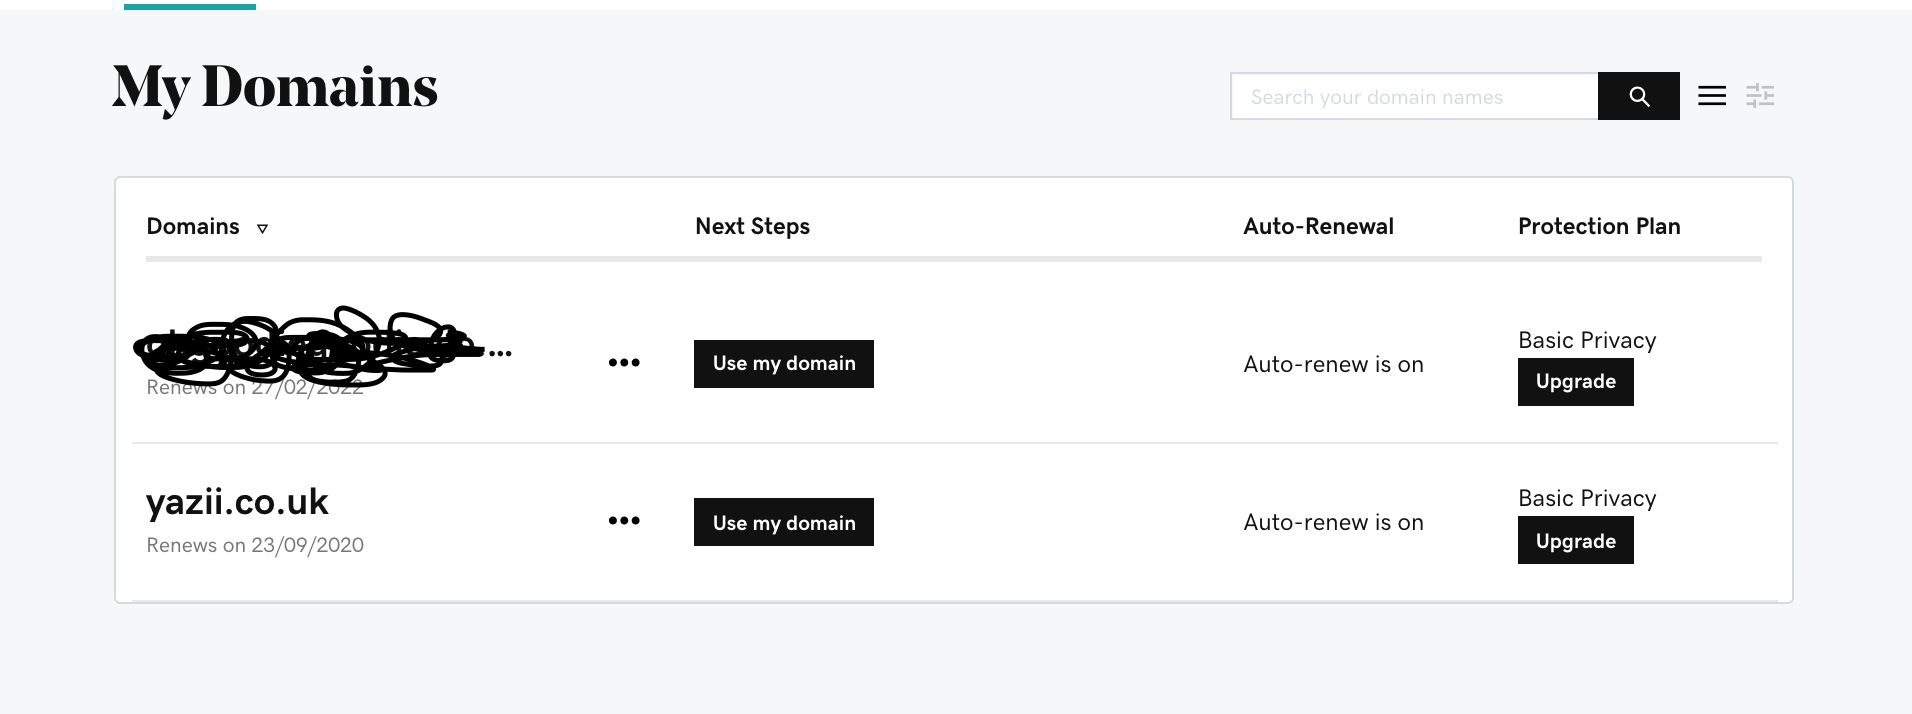
Click on the domain that you want to configure.
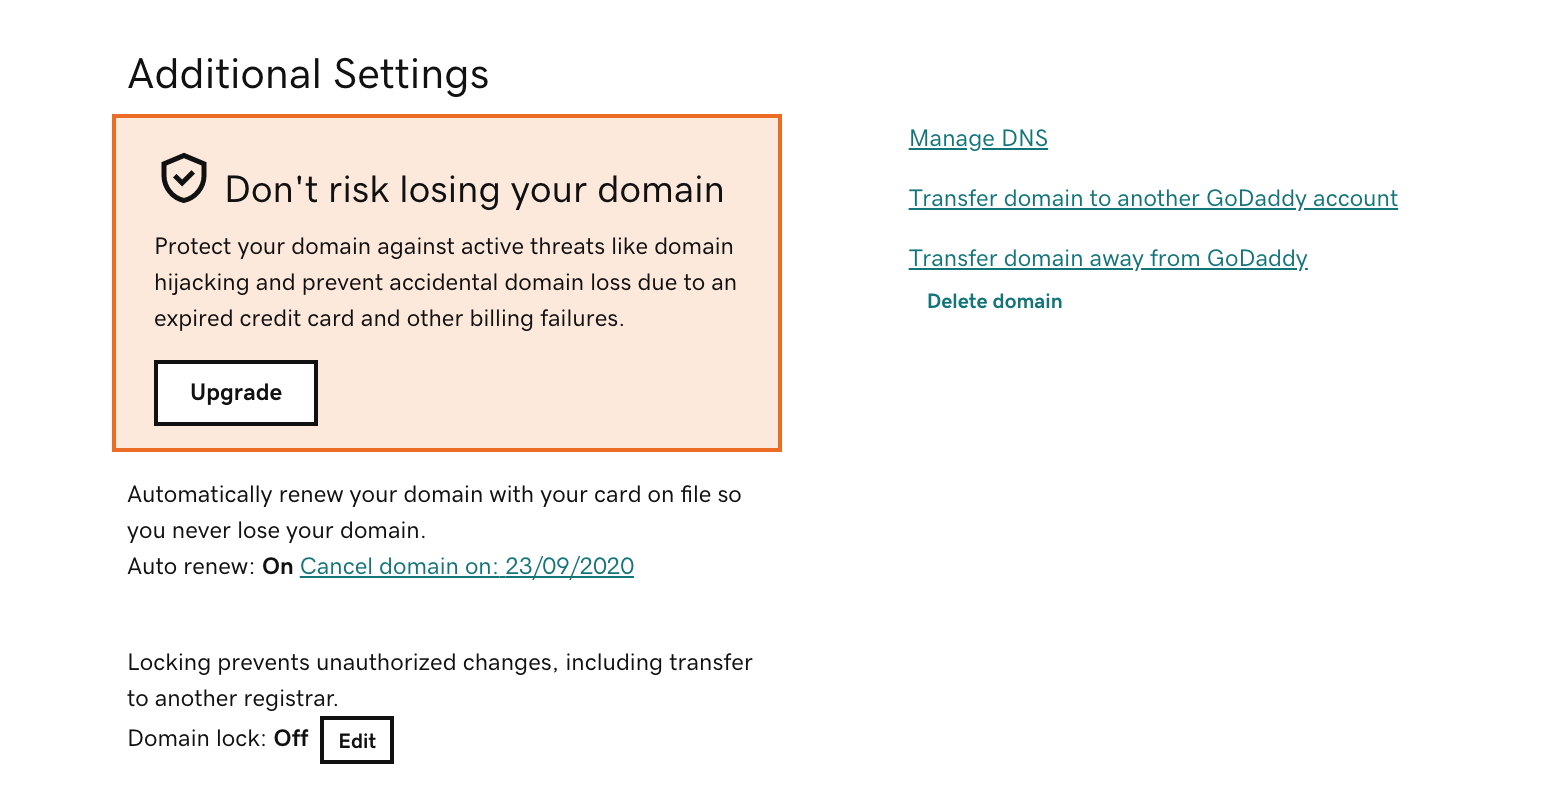
Here you will want to click Manage DNS from the right hand side
You will have something that looks like this:
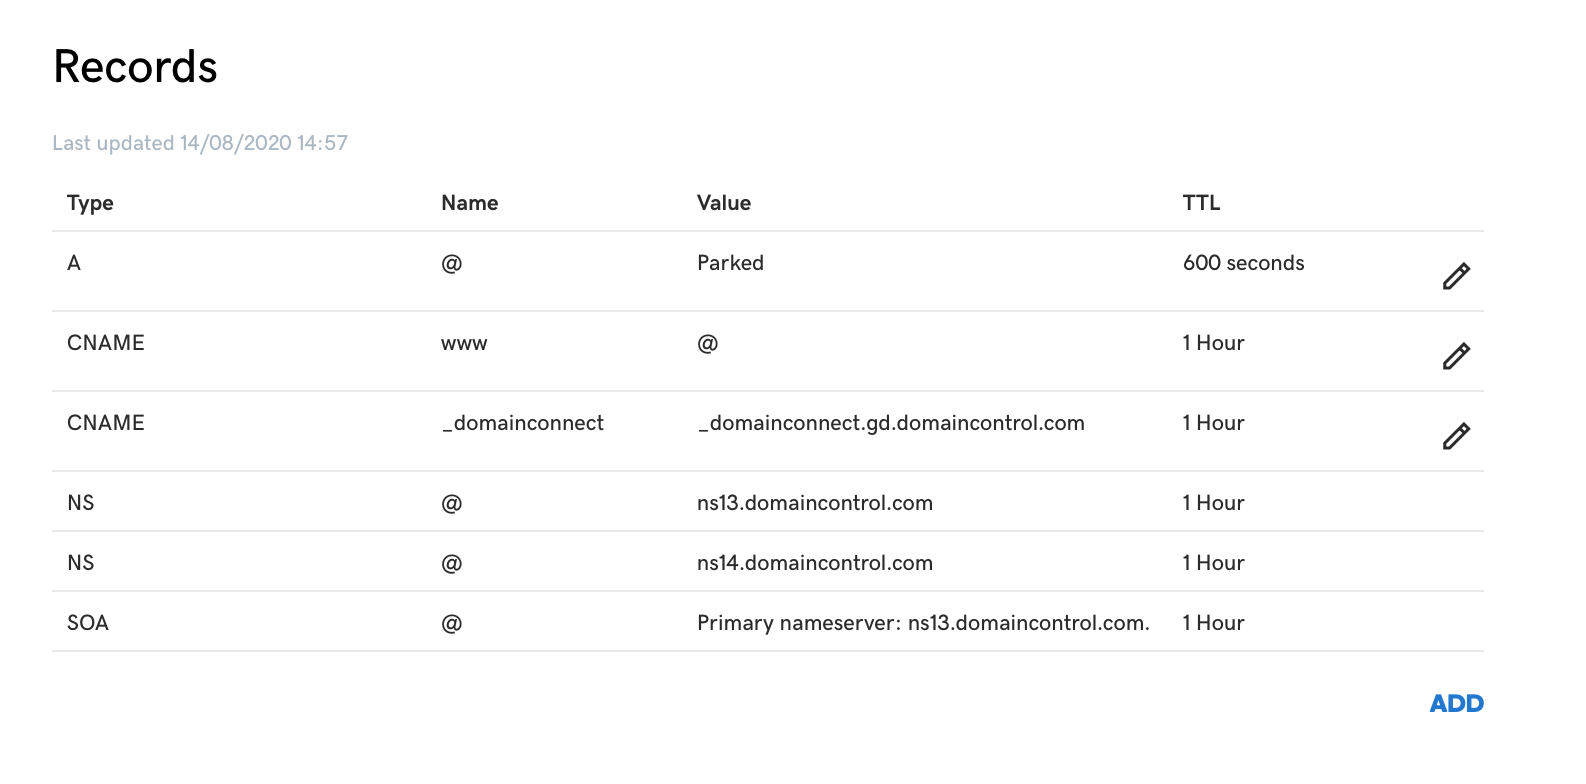
You will want to add/edit the records here.
Let’s re-iterate, from command line type:
$ heroku domains
=== yazii Heroku Domain
yazii.herokuapp.com
=== yazii Custom Domains
Domain Name DNS Record Type DNS Target
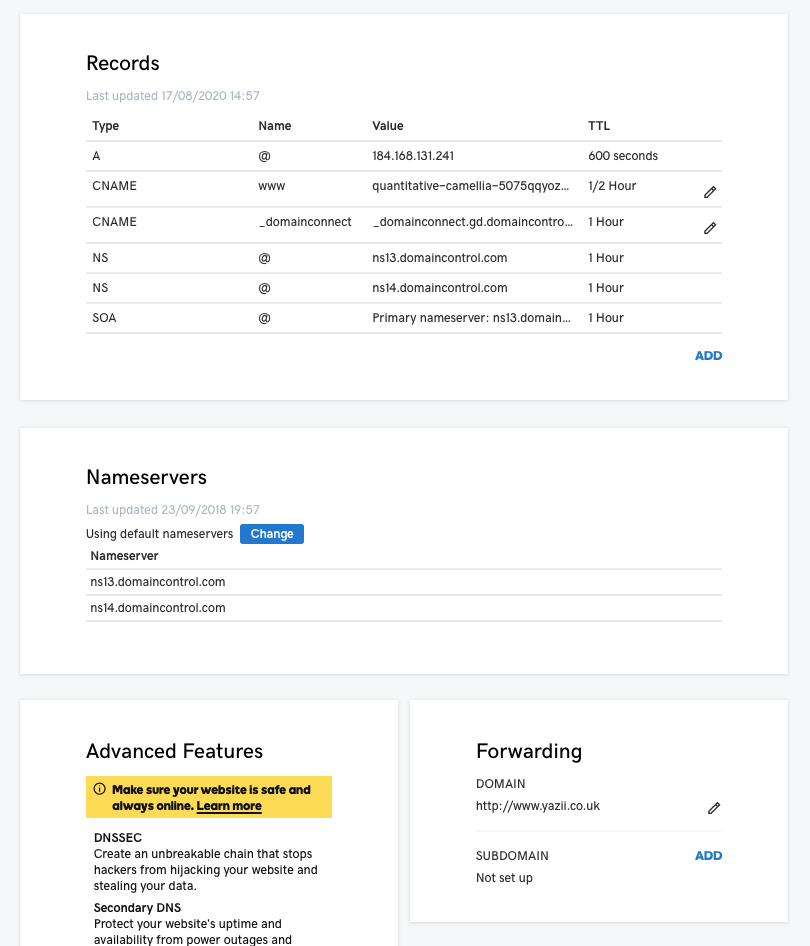
*.yazii.co.uk CNAME quantitative-camellia-5075qqyoz7zlgcsujx6x930y.herokudns.com Copy the DNS target value and enter it as a record to GoDaddy:
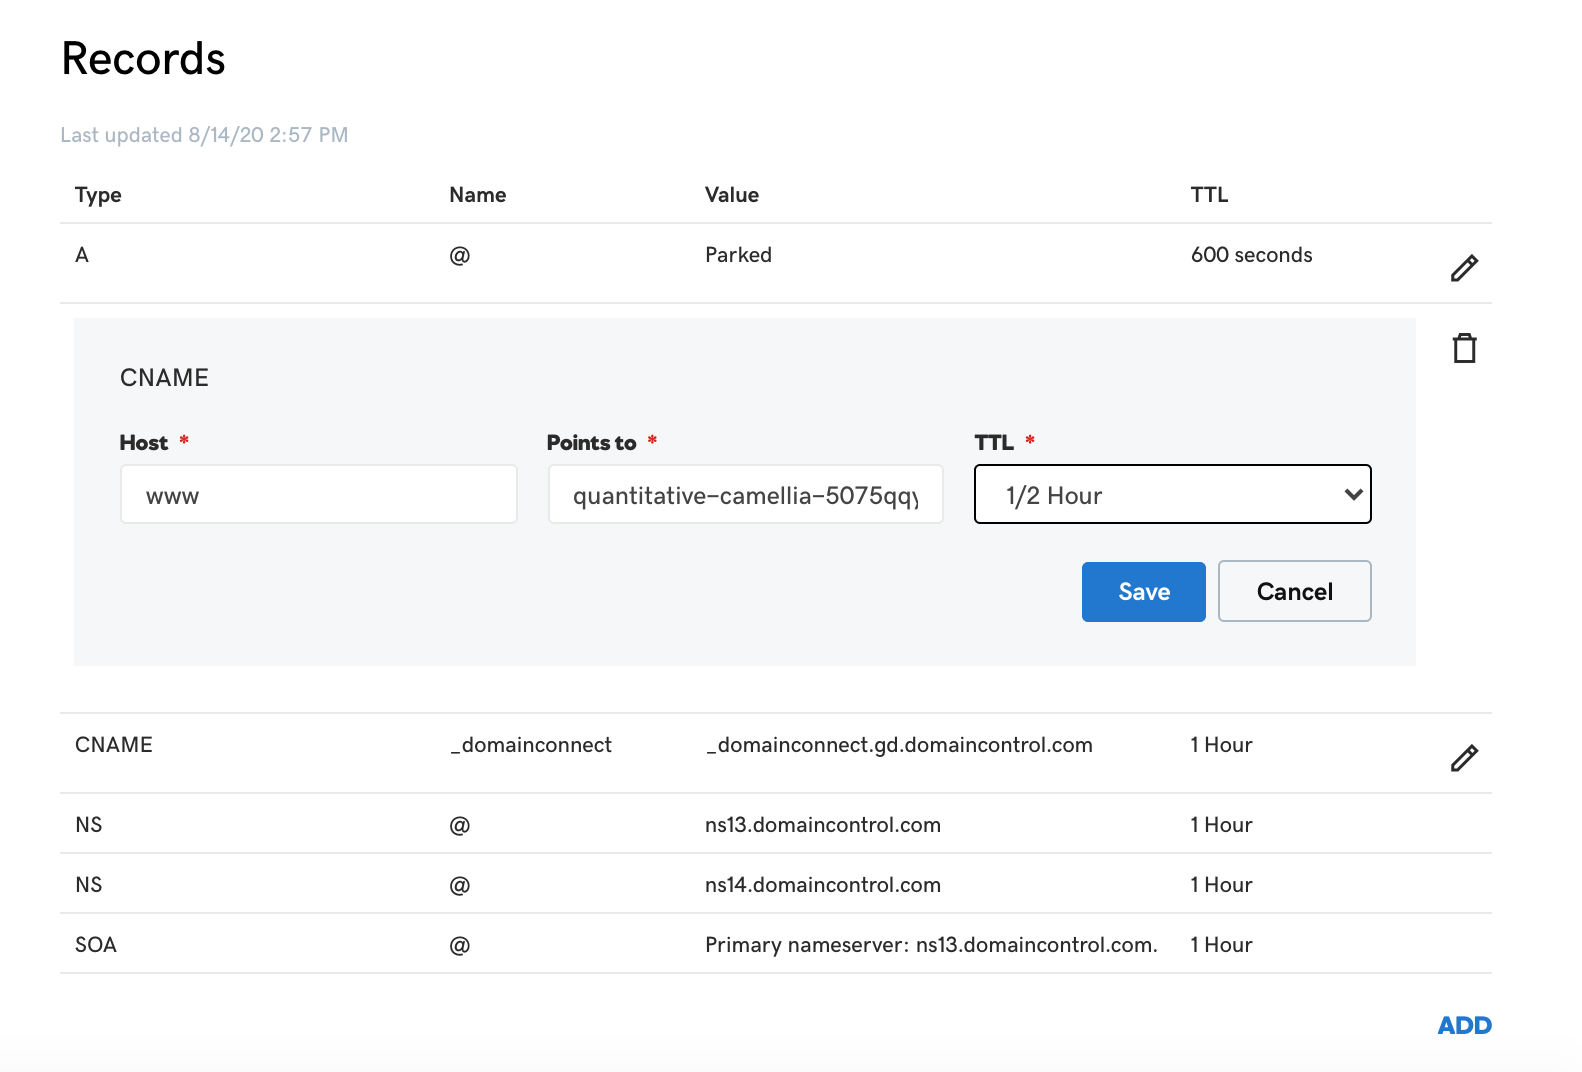
There should be CNAME record present which points to ‘@’. You should change this by editing it to point to your DNS target from step above.
Note TTL stands for time to live – so it may take a while (whatever you select) until the changes are reflected.
There is another setting here we need to modify – Forwarding
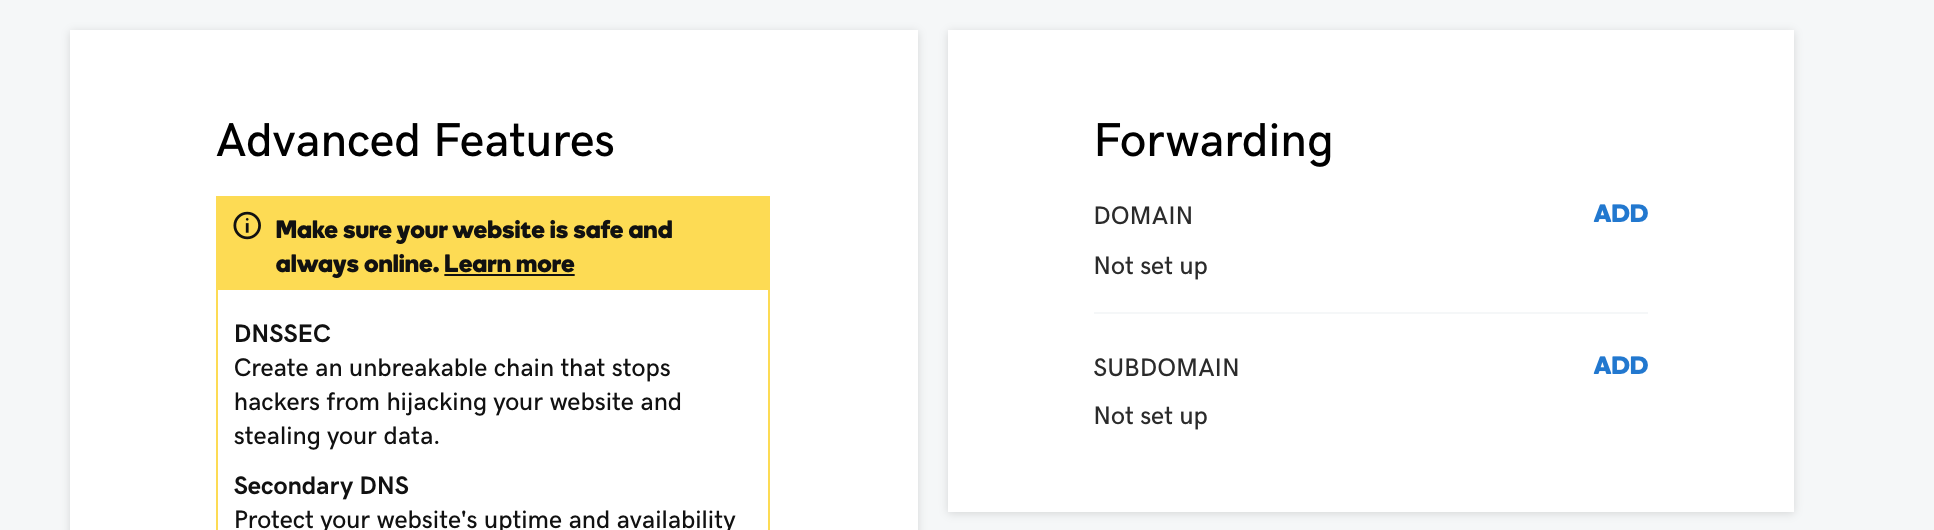
Find the Forwarding domain settings on the same page.
Click ‘ADD’ here
Here, just fill out like so:
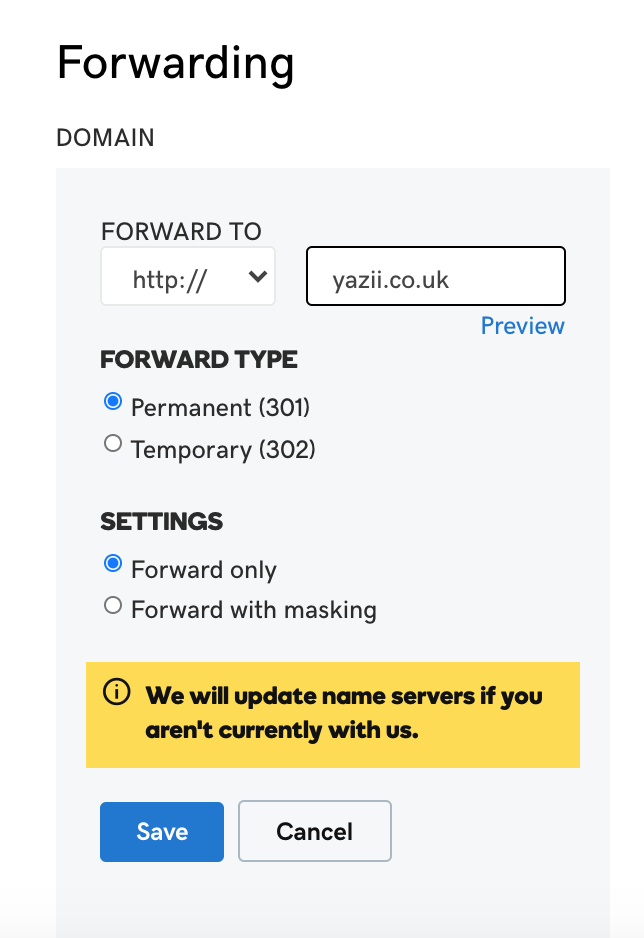
Change the domain name as appropriate.
To give a little background as to why or what this changes – it essentially redirects traffic from https to the configured settings.
You may want to invert this if you have the SSL certificate and don’t want to use normal http protocol.
After completing this, the settings should look a little like this:
Then after waiting for a little while, the page should start working

And that should be it, you’re live!